Copyright 2019 Discovery Owner's Association, Inc.

Villa Armrest Removal / Installation

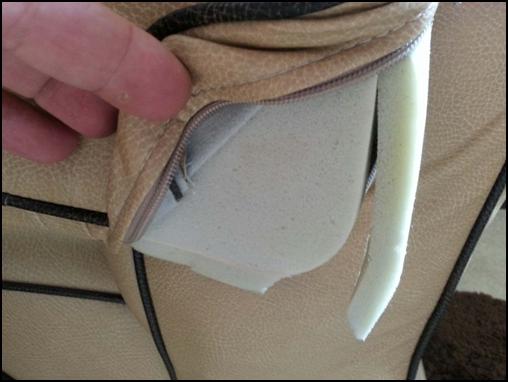
  1. Place armrest in horizontal position and unzip the fabric to expose the foam covering the pivot bolt and the rear of the metal arm support.


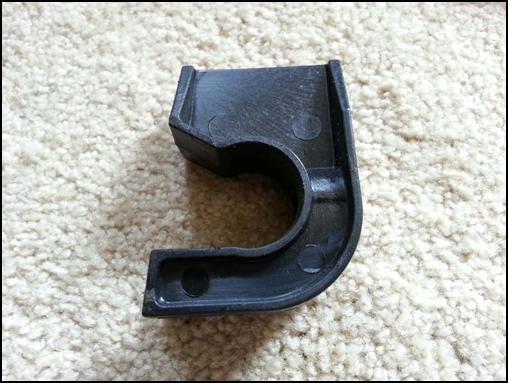
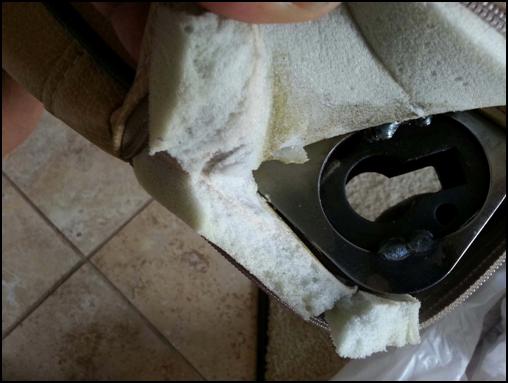
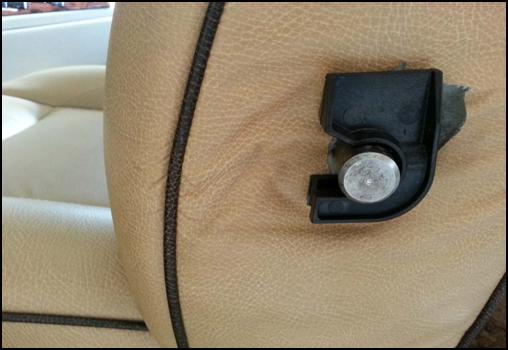
  2. With a razor knife, cut a clean line down the rear of the foam (it will be easier to glue back later) so that you have access to the black polyethylene retaining clip in the back of the metal arm support. Note: Take notice of the keyhole shape of the armrest support where the retaining bolt is visible because it plays an important role in positioning when either removing or installing the armrest.


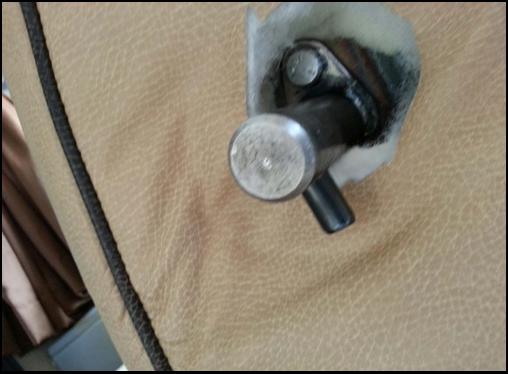
  3. With a flathead screwdriver or butter knife, remove the retaining clip and set it aside for later. With the retaining clip out, lift the armrest beyond vertical until it is at a point approximately 35 degrees beyond the backrest of the chair. There, the armrest keyhole will line-up with the corresponding shape of the retaining bolt and the armrest will come right off.


  4. To re-install, place the armrest in approximately a 35 degree angle past the backrest so that the keyhole shape of the metal arm support at the bottom matches the shape of the retaining bolt on the chair. (refer to Photos 4 and 5, above)


  5. Once aligned, place the armrest in the horizontal position and insert the black retaining clip back into the appropriate position.


  6. Glue your foam back together with your choice of closed cell foam adhesive and zip up the fabric to complete the installation process.

Submitted by Keith J. Lindholm


WHO WE ARE

The DISCOVERY OWNERS ASSOCIATION, INC, was formed to promote the sharing of information and the camaraderie of fellow Discovery motorhome owners. Membership in the club is limited to owners of Fleetwood Discovery motorhomes.

GET IN TOUCH

Website Questions
Email Webmaster
Membership Questions
Email Membership Coordinator

SEARCH THIS SITE