
One of the best additions I made for my D was the addition of an electric water heater element for the existing Atwood gas water heater. Adding an electric heating element to my 1998 36T was very easy. After looking at various makes and models of electric heater elements, I decided on a 475 watt model that I got from a vendor at Escapade for $40. I have also seen them advertised in RV magazines for around $50. My D only has the 6 gallon water heater. If you have the 10 gallon water heater, or want your water to heat up faster, you may want to consider an electric heating element with a higher rating - just be sure that it will fit in your water heater.
Installing the heater element, thermostat and wiring is very easy. All of the work, except the wiring, is performed outside. Here is what I did:
Pictures are worth a thousand words...
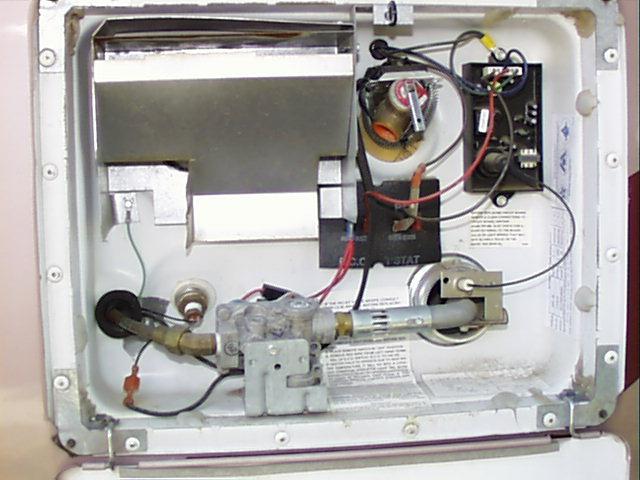
Here is a picture of the water heater with the electric heater modification:

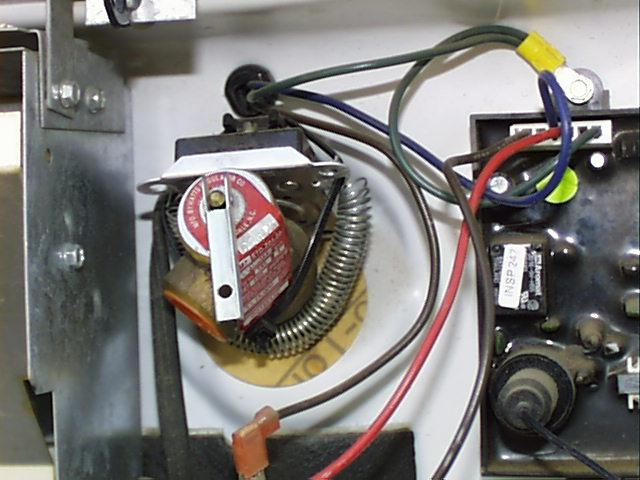
This is a picture of the new thermostat that is installed over the copper relief valve. Don't let all the wires scare you, the only new wires in this photo are the ones that are already attached to the new thermostat.

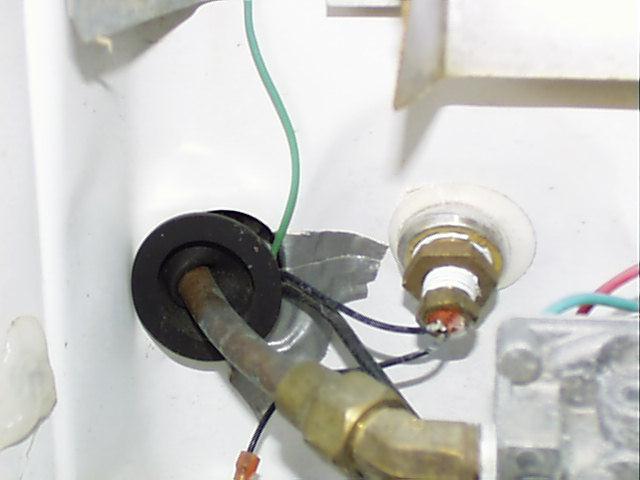
This picture shows the heater element installed where the drain plug was. The power plug and wire was routed through the hole for the LP gas pipe and taped to prevent abrasion.

Submitted for Bob Cook
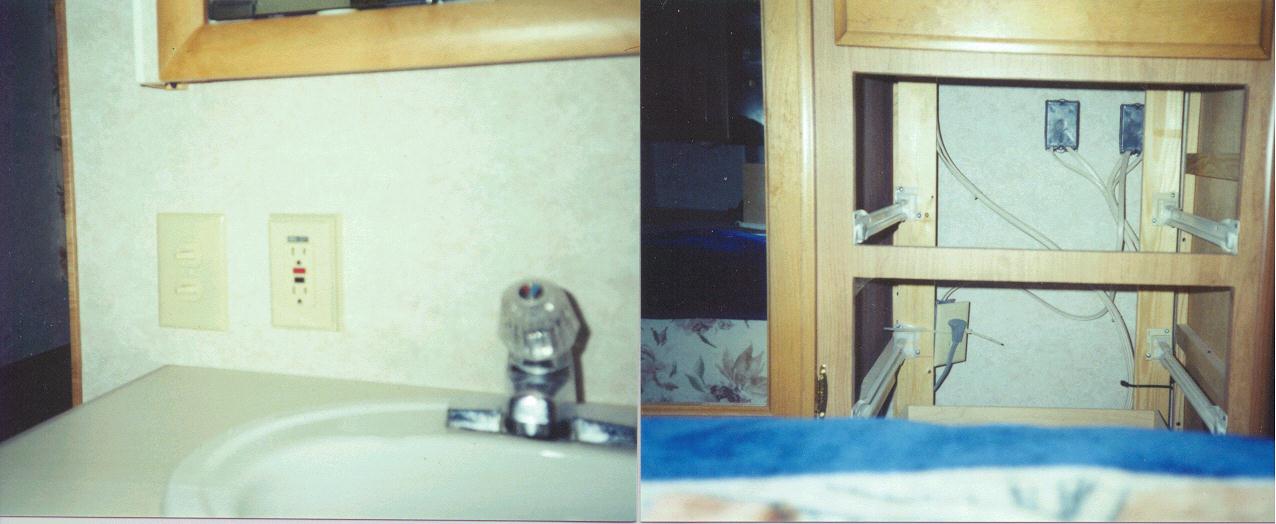
I removed the single light switch above the sink in the bath room and installed a double switch, the top one for the light and the bottom one for the electric water heater rod manufactured by N.W. Leisure Products. The reason I selected their product was because of the ease of insulation on my part. I didn't have to cut into the insulation to glue, tape, screw, etc the thermostat to the tank. The thermostat was attached to the relief valve, a very simple task.
Behind the drawers in the bedroom I installed an outlet box to plug in the water heater element. After using the heater element for a year, I was contacted by Dennis Cates from N.W. Leisure Products and Mr Cates said they had a new shorter rod and insisted I exchange mine for the newer one free of charge. How about that for a company who cares about the consumer!
Here is a picture of my installation:

Here is the address and telephone number of N W Leisure Products:
Northwest Leisure Products LLC
4413 Pacific Hwy East
Hubbard, OR 97032
(503) 982-7154, (800) 654-2742
Submitted by Robert A. Durgin
The DISCOVERY OWNERS ASSOCIATION, INC, was formed to promote the sharing of information and the camaraderie of fellow Discovery motorhome owners. Membership in the club is limited to owners of Fleetwood Discovery motorhomes.