

One of the things we enjoy least in our Discovery pusher is the heating and cooling systems (HVAC). The rooftop units (both heat pumps in our coach) are incredibly loud and inefficient. This results in making watching TV or conversing more difficult because of the increased volume as well as the coach not being able to maintain a desired temperature. The furnaces work but the temperature swings are noticeable and the noise when it comes on and off tends to wake us up. As a result, we normally sleep with a cube heater running and rarely use the gas furnaces.
For years, I have been aware of Mini-Split heat pumps. These things are amazing, VERY, VERY efficient (19 SEER as opposed to about 10 for the Colemans), almost silent, and very lower power consumption. They use variable vane compressors and inverter technology fans controls along with variable speed fans. And perhaps most important, they will produce lots of heat down well below freezing (5 degrees actually !!!!). Compare this to the Coleman heat pumps which are worthless below 40 degrees other than blowing cold air around the coach.
I NEED to do this. Time to do some thinking…
There are only a few factories that make these things and they are all basically the same. An ARMY buddy in the HVAC business recommended SENVILLE units. He’s installed a number of them with much success. I wanted 120V units and that meant the largest available was 12000 BTU. They cost about $750 delivered. They had a price DROP since I ordered. Here is a link to my unit: https://senville.com/12000-btu-mini-split-air-conditioner-senl-12cd/ They also offer a 9000BTU unit.
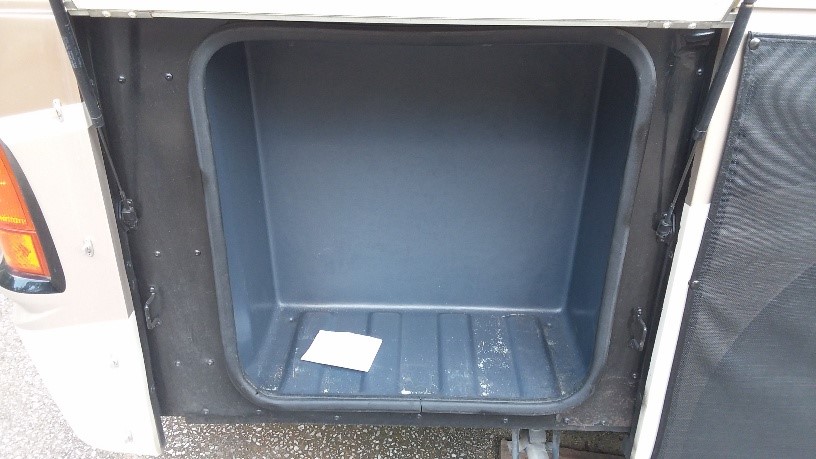
I decided to put the inside unit (Evaporator) where the TV was above the dash and the outside unit (Condenser) where the basement was in front of the driver’s side front tire. Since we added the 50” TV on a televator, we do not watch the front TV over the dash. I had installed a 37” TV on a swing away mount and stored my manuals and some plastic boxes behind it. I can find somewhere else for them.
There are some space requirements for the mini split. In my coach, there is 12” behind the plastic box of the basement. The condenser unit will barely fit through the existing door but it fits and I’ll have to build a structure to support it. But it will fit. There is plenty of room for the inside unit (evaporator).
Downloading the manual, I checked the space requirements and dimensions. The unit needs 12” behind and 12” on the left side which would face the empty front cap toward the headlights. Perfect.
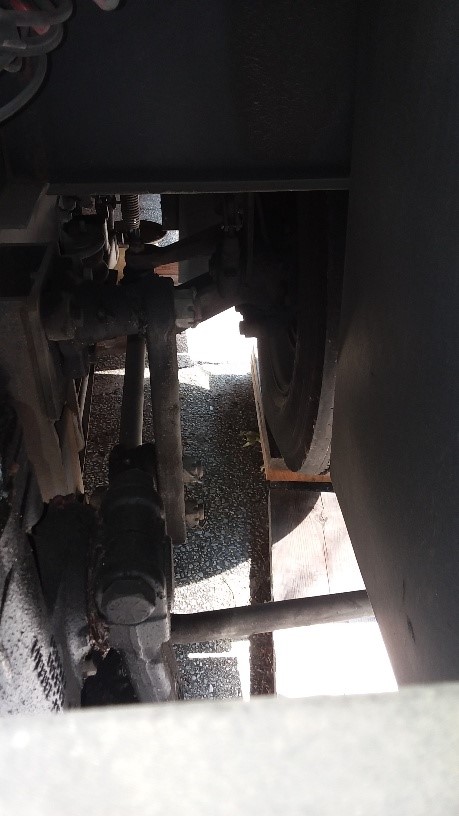
Next thing is where to route the refrigerant lines. I finally chose to run them up behind the plastic cover on the windshield frame. This is called the “A” pillar.
A view from below.
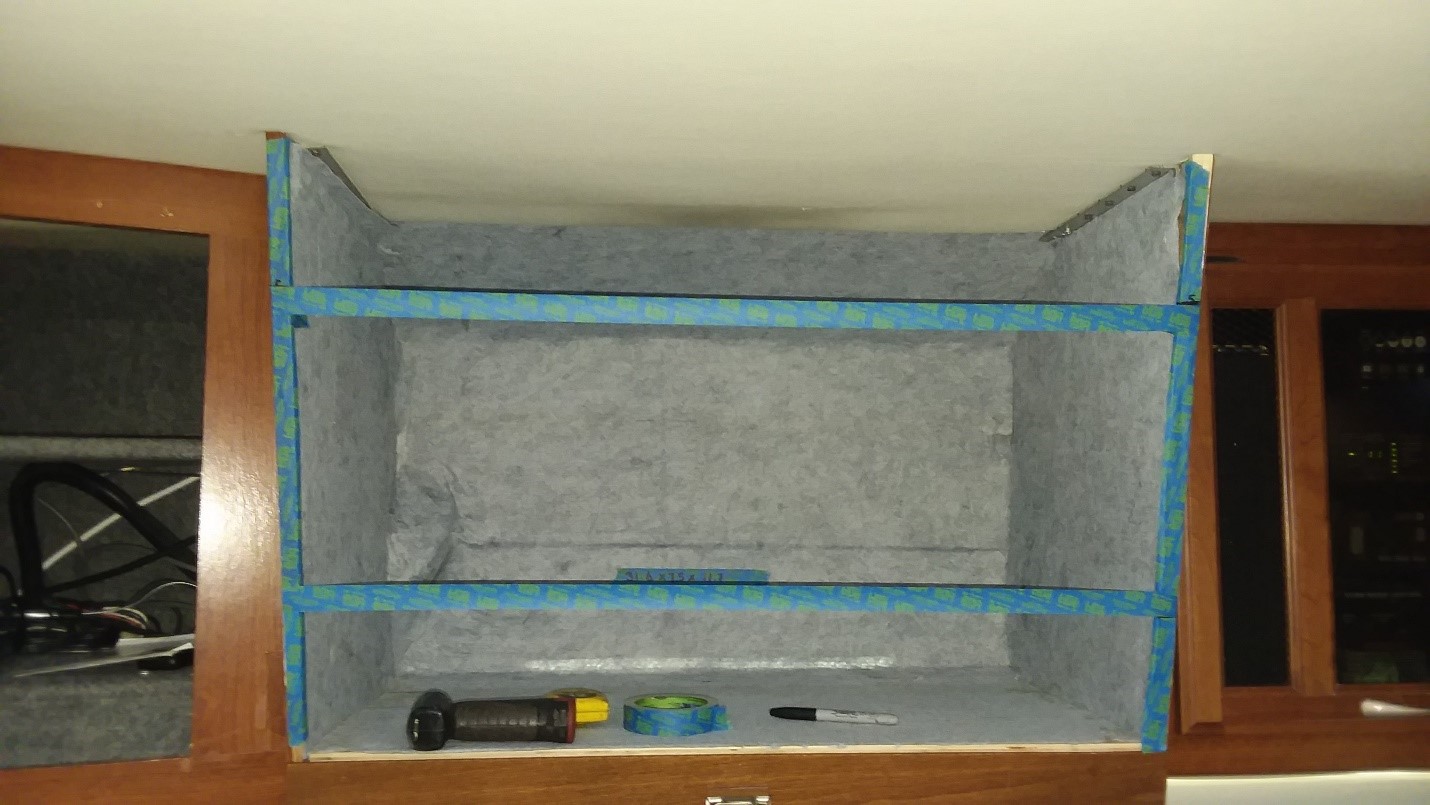
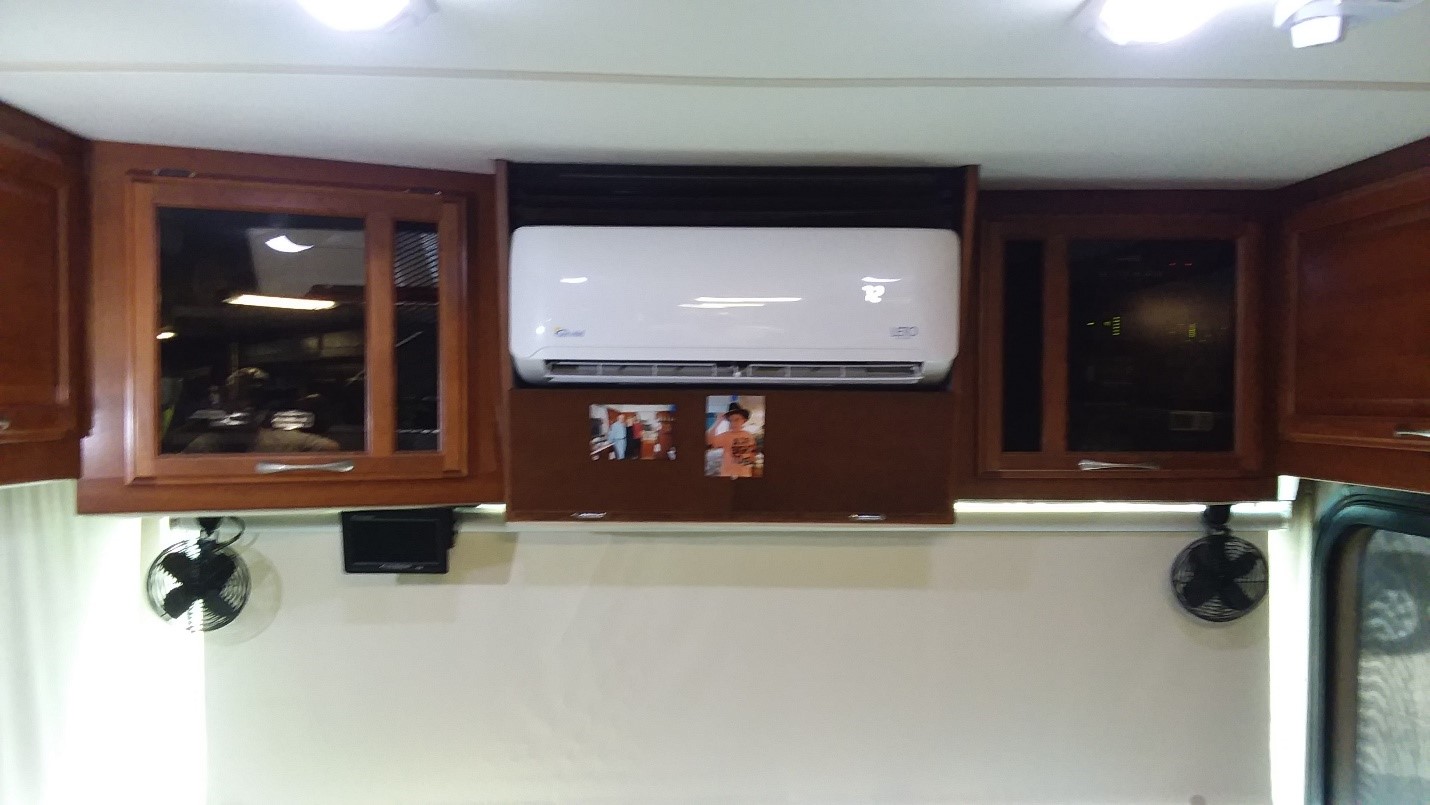
The evaporator is a PERFECT fit in the TV opening. The opening is ¼” wider than the unit. The unit needs 5-6” above it for air flow. No space behind is required but access to the refrigerant lines would be nice so I’ll set the unit even with the front of the cabinet. The tape shows where the unit will fit in the opening. There will room for a drawer below it. The unit will blow straight down the center of the coach.
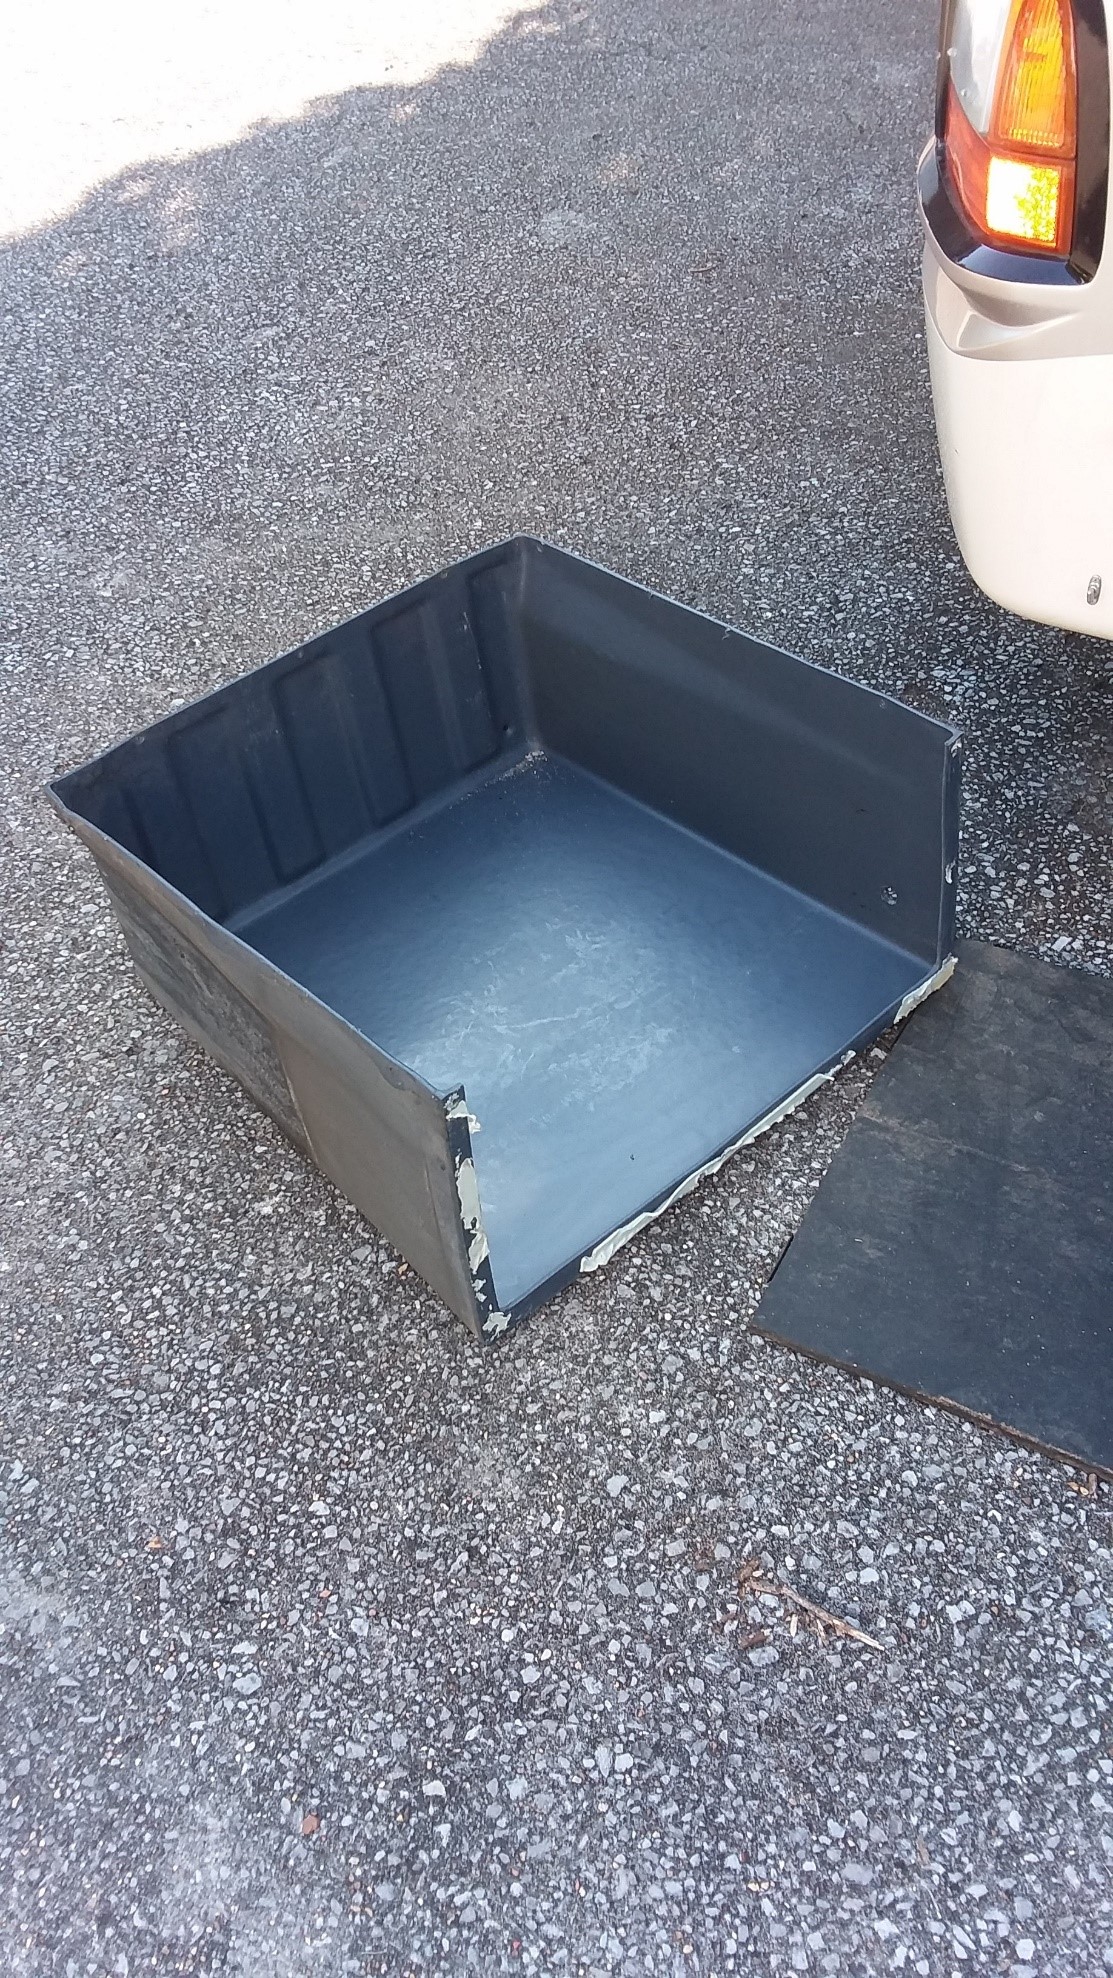
At this point, I bit the bullet and ordered the unit. There were some issues still to be resolved but I was confident I could overcome them. While waiting for the unit to arrive (free truck shipping), I got started by removing the basement box and the TV. The plastic basement box is just screwed in. I also tied up the basement door and removed one of the gas lifts just to get things out of the way.
Referring to the downloaded manual, I fabricated a mount for the unit that hung on the steel framing of the bottom of the basement opening and on a steel floor support above and behind the original basement box. This was made from 1x1” steel tube and some angle. I screwed a 1/8” aluminum plate top on it for the unit to sit on. The front tire is just to the right so there will need to be an aluminum plate that protects the unit from water and road debris thrown by the tire. In all honesty, I don’t think the aluminum would protect the unit from a full blowout.
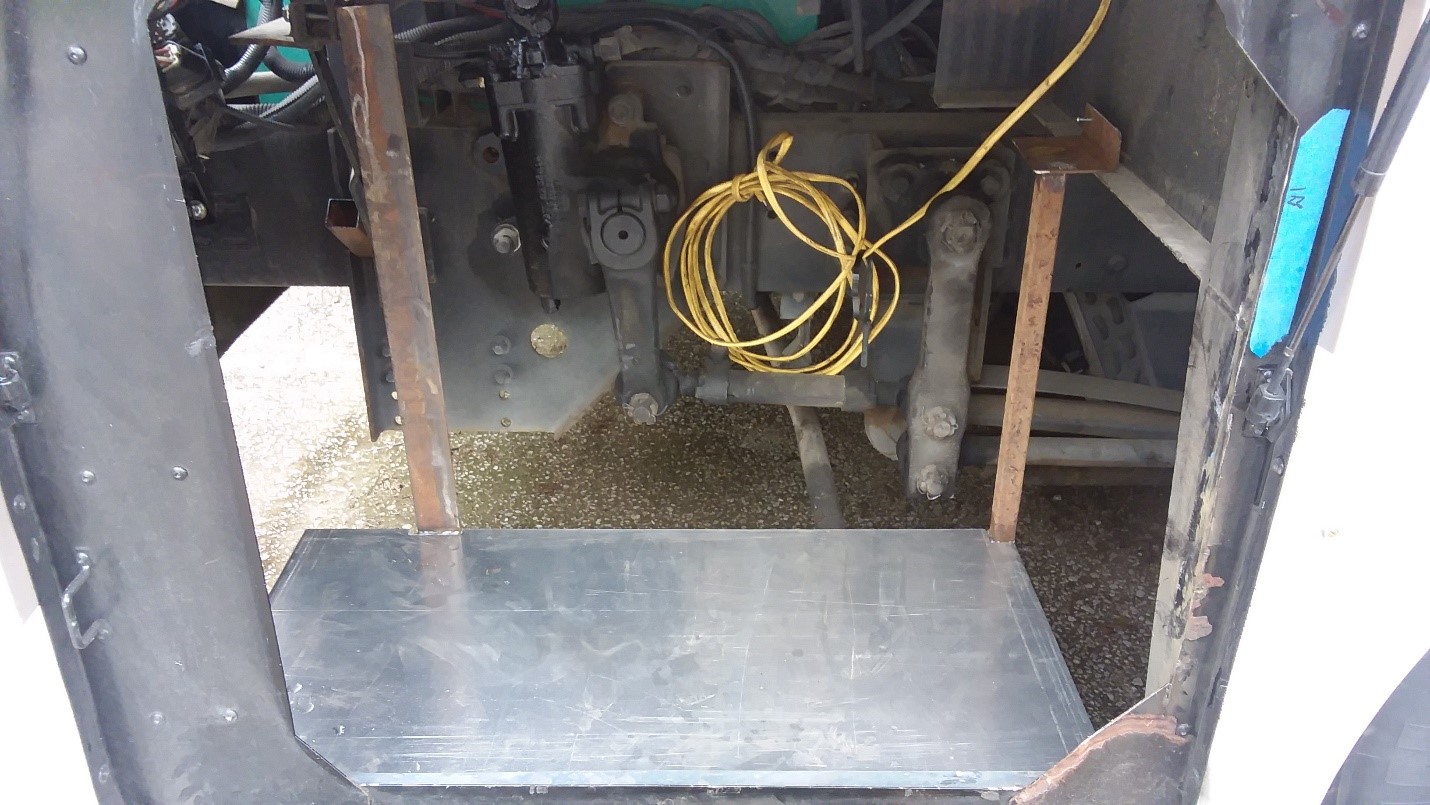
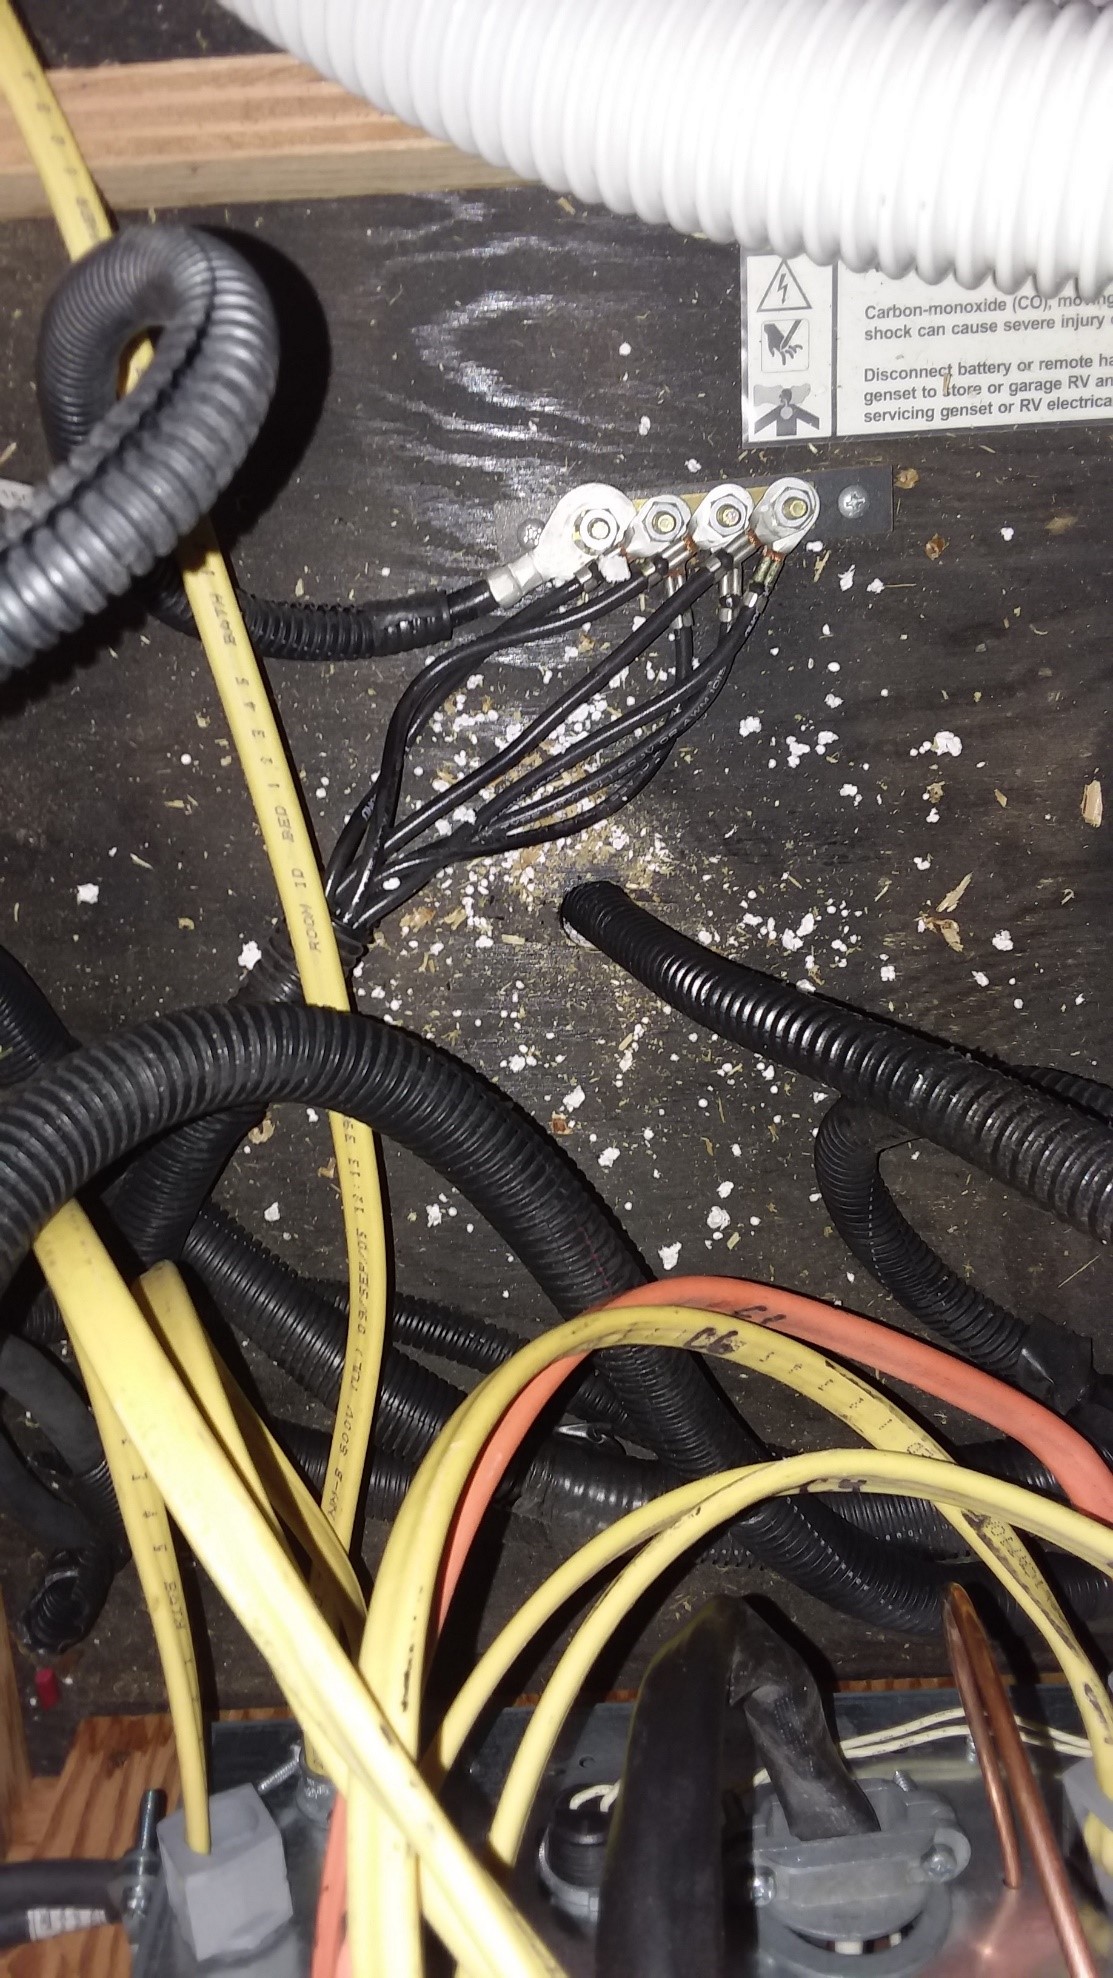
The yellow wire is the new 120V AC line I ran from the breaker box. This is under the bed in our coach. I drilled a hole to get the new line through the floor and installed a ‘DUPLEX’ breaker (Lowes). The duplex breaker is two circuits in the space of a single original breaker.
I put the standard 12-gauge wire in a plastic wire loom and finished off the hole with some expanding foam. I used a 15 Amp breaker because that is what is specified. I could have used 14-gauge wire. A little overkill never hurts.
CAUTION! Working on 120VAC can be deadly! If you don’t know what you are doing, get someone who does….please!
Running the new line to the unit was just work. Sliding along under the coach tying it to the cable bundles and making sure it wasn’t hanging down where it could get caught on anything. Eventually, I put a switch to turn the outlet on/off for service and put the whole thing in a weather proof box.
After some COVID delays, the units arrived. I unpacked them. The evaporator is light, and I was easily able to handle it alone. It comes with a mounting plate and I put a wooden plate across the cabinet to mount it on.
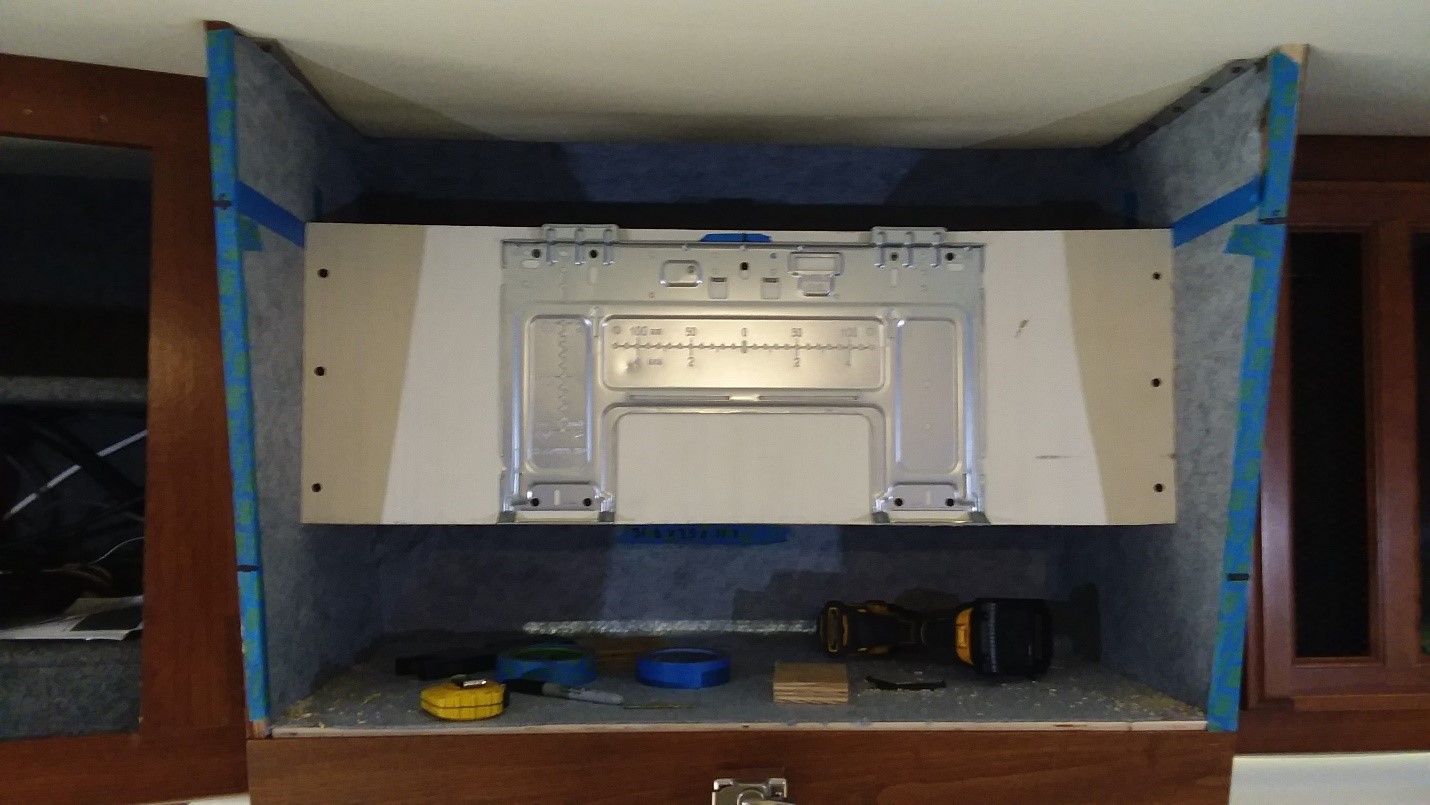
The unit just hangs on this.
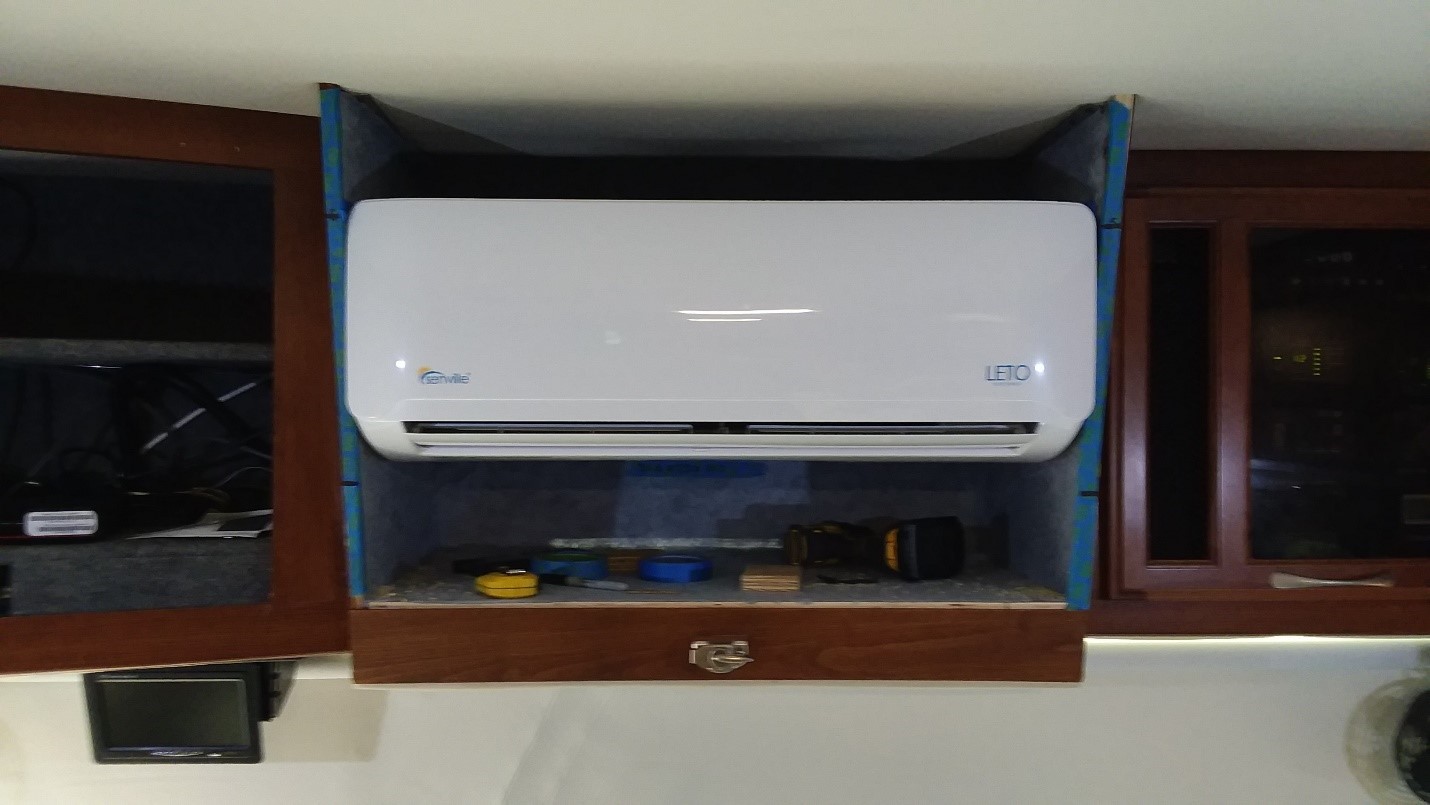
You may notice that I’ve removed all the ‘stuff’ in the cabinet to the left. This contains the satellite receiver and similar stuff. I also removed the door just to keep things out of the way.
At this point, it was time to install the evaporator. I asked my neighbor to assist because although I could handle the weight, it was very awkward. We both wore masks because of COVID. I had previously removed the hood over the generator, and he leaned in and helped lift and maneuver. I had previously made a cardboard box the exact dimensions of the unit and done a trial fit so I KNEW it would fit. Even so, I crossed my fingers…
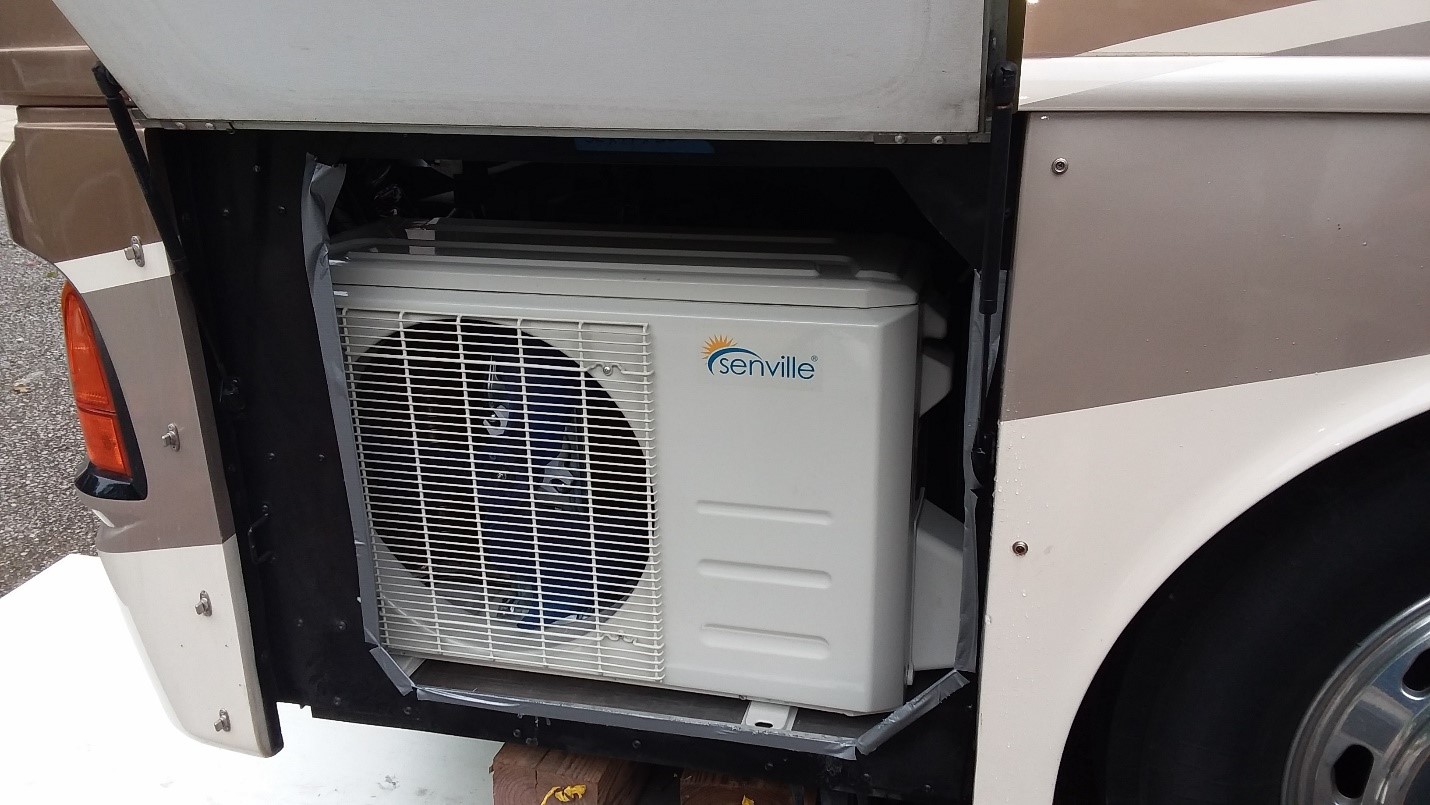
YeeHaw! It fits. Ultimately, I trimmed out that black steel on the left where it obstructs the outlet. I don’t think it was necessary, but I did it anyway. I reinforced it by screwing an additional piece of 16-gauge steel over the top.
Running the evaporator control wires and the refrigerant lines was easier than I expected. I removed the plastic cover on the ‘A’ pillar, dug out the expandable foam, and just fed the lines up. My neighbor came over again to help feed the lines. I drilled some holes in the side of the cabinets to feed the lines through.
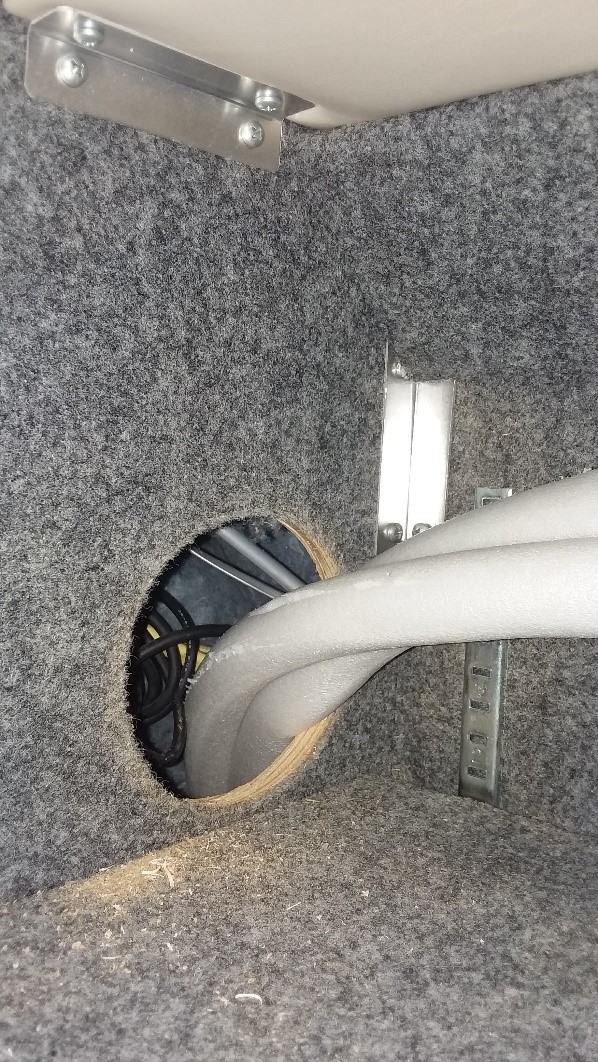
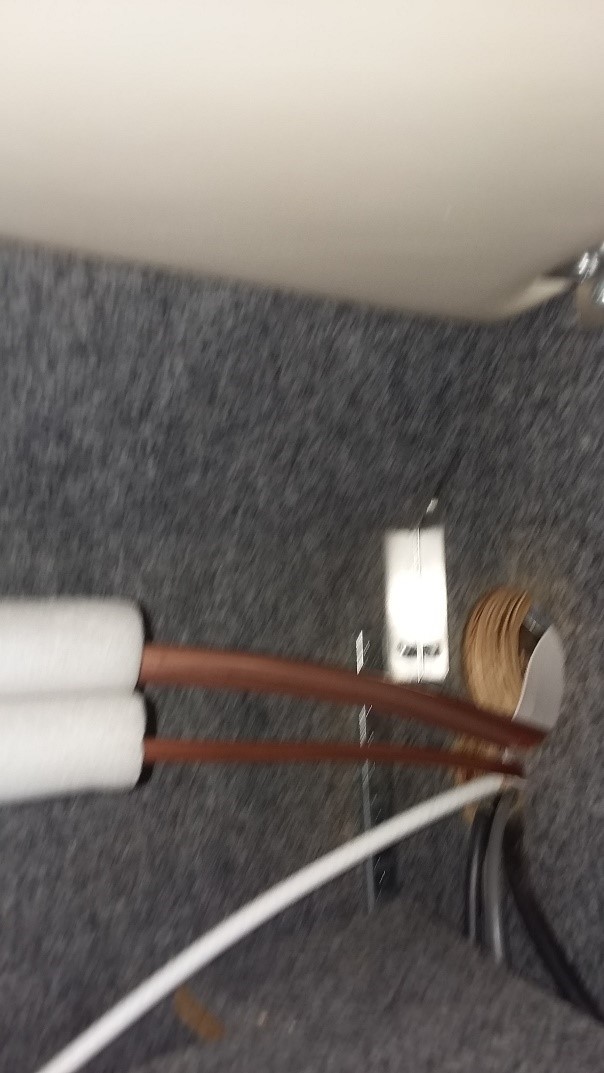
The white covering is insulation that comes with the unit. I ordered the standard 16’ lines and lucked out because it was JUST enough. If I was doing another, I’d probably go with longer lines and measure before I ordered.
At this point, it’s time to connect the lines, vacuum out the hoses and condenser. The valves are on the side of the unit. The unit is pre-charged. Once the lines are vacuumed and tested, simply opening the valves allows the freon to spread through the system.
WOW! It works! Not only does it work, it works GREAT! You can barely hear it. The fridge is louder. It keeps the front of the coach totally comfortable. It actually keeps the bedroom comfortable for most folks. We have a tower fan that we normally run to keep air moving at night. During the day when it is hot, the front of the coach easily stays at set temp (70) but the bedroom raises to 75. Just to keep things comfortable, we normally run the rear rooftop unit occasionally.
Now just prettying things up:
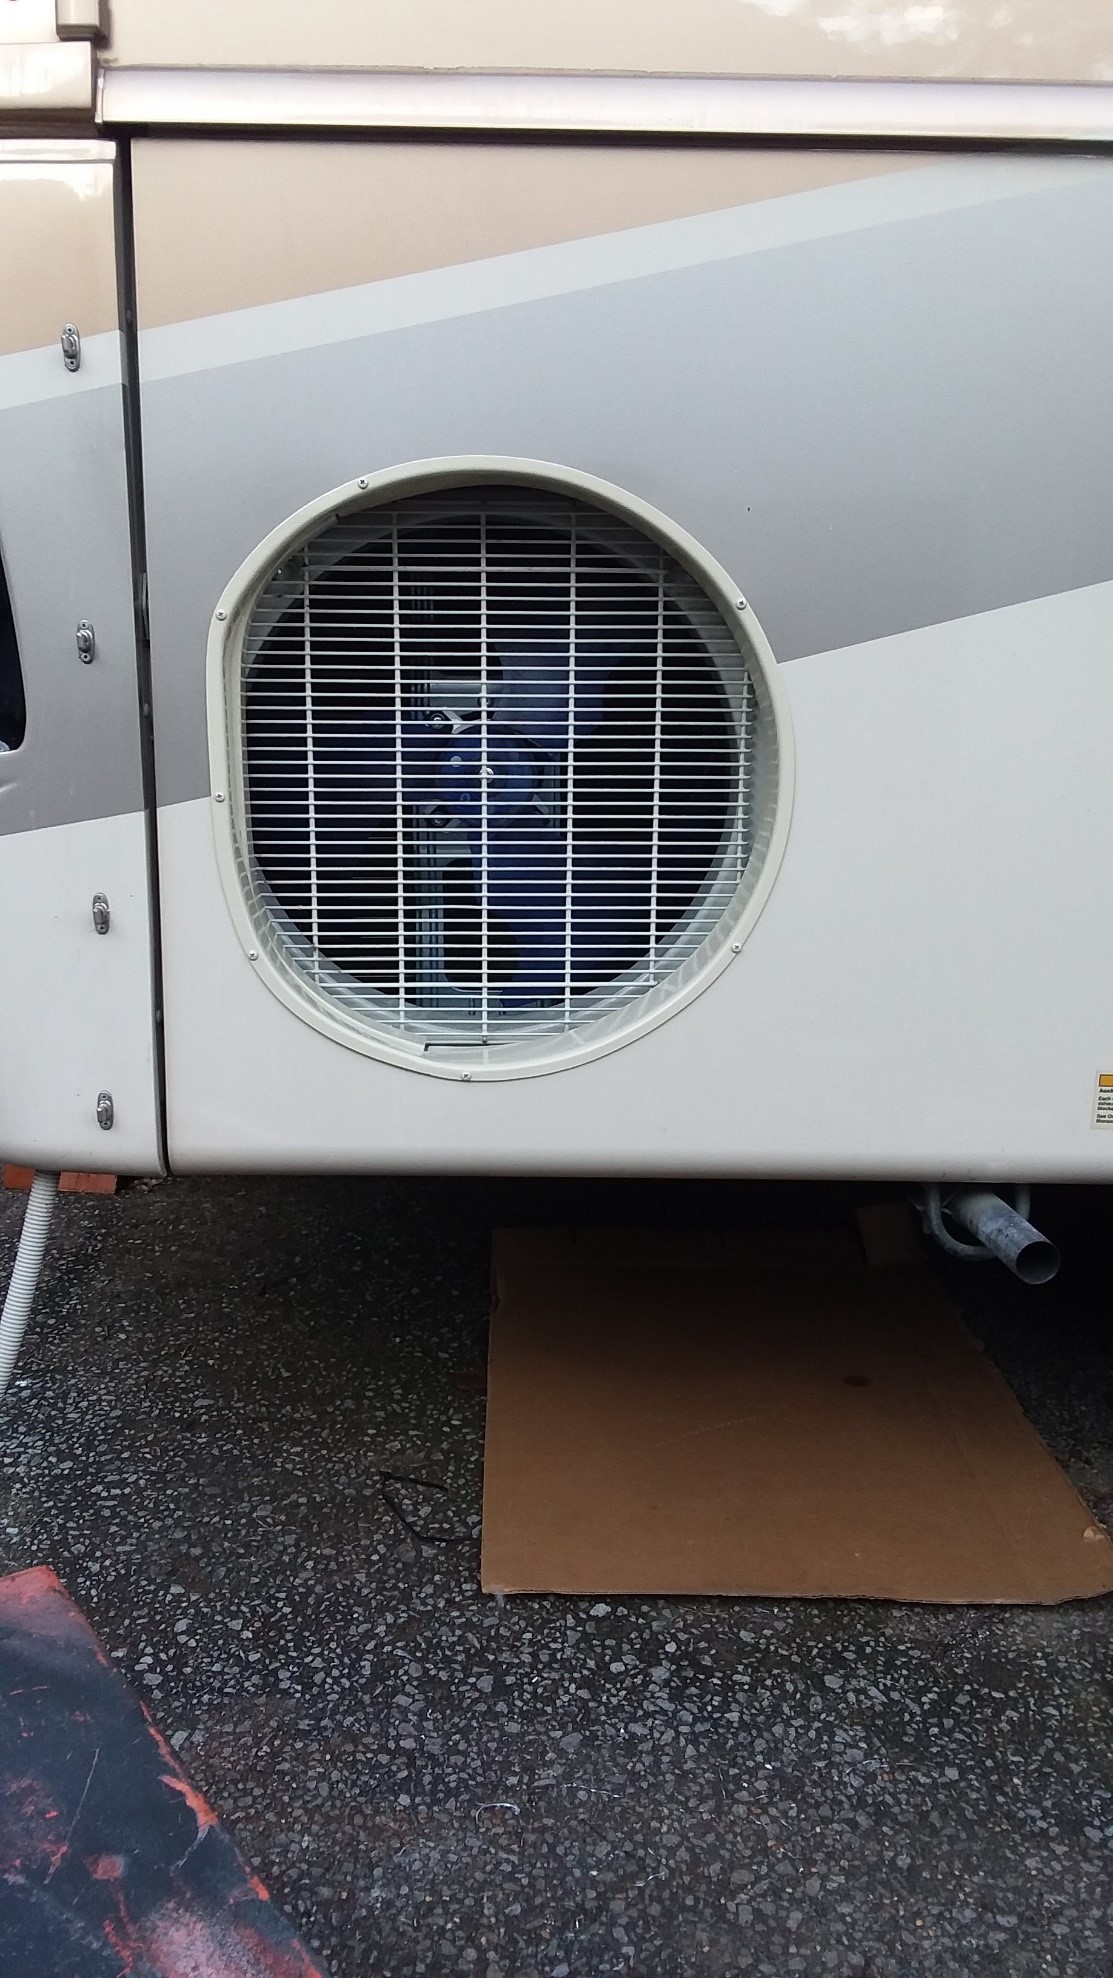
I’ve found this grill is the source of much curiosity. I’ve had over a dozen people stop and ask what it is. LOL
I’ve got lots of additional photos and will be glad to talk to folks about it.
I originally did this in the spring of 2020. Since then, we used the Mini-Split in 90-degree temps down to mid-20-degree temps with TOTAL satisfaction. It keeps the main area totally comfortable and makes no noise while doing so. The unit is considerably less noisy than our residential fridge. Previously, we had to have a 100W sound bar to watch TV over the noise of the rooftop noise makers. I’m not sure where the remote to the sound bar is these days.
My wife tends to be hot at night, so we frequently run the rear rooftop unit in fan only mode just to circulate the air to the rear of the coach. This winter 2021, we’re in Central Florida and have had several nights in the mid to upper 20’s. At night I have a cube heater that is set to its lowest setting, but I don’t think it’s ever come on.
Obviously, this will not put any heat in the wet bay so if you’re cold weather camping, you’d still need do take whatever precautions are necessary to protect your pipes and pumps.
I’ve done lots of upgrades and mods to our coach(es) but this is the best $750 I’ve ever spent. If it dies within 5 years, it’s under warranty. After that, I’d just buy another and replace the evaporate and condenser.
This is a non-trivial project, but anyone with good mechanical skills and the ability to cut steel tube and aluminum plate could do it. A HVAC guy can be hired to vacuum down the unit and turn it on for a nominal fee. In my neck of the woods, that would be about 100 bucks or less. My guy charges 50 bucks for a service call.
We have used it running down the road with the generator on. If you have capacity on a pure sine wave inverter, I’d not be concerned about it. I have a modified sine wave and don’t want to risk the sophisticated electronics inside the unit on it.
The only thing I would have done differently has to do with the drain line. The drip pan is shallow and has a drain outlet on each end. I only hooked up the right side instead of doing both ends and tying them into a single drain line with a TEE. If I park on a slope that drops down on the left side with the unit on, water will overflow the pan and fall onto the dash. Eventually, I’d add the other side but if I was doing it again, I’d hook up both sides.
One final advantage is no water dripping off the roof. I routed the drain beside the refrigerant lines, and it drips on the ground beside the coach. I could easily add a piece of hose to run it off into the grass if I wanted to but I don’t mind the wet spot.
Kerry Pinkerton
[email protected]
The DISCOVERY OWNERS ASSOCIATION, INC, was formed to promote the sharing of information and the camaraderie of fellow Discovery motorhome owners. Membership in the club is limited to owners of Fleetwood Discovery motorhomes.