

As promised, this is what I did to the front unit. It was more involved.
This is what it looks like now. I don't have any before photos but it is the same as the rear unit including the duct that runs to two vents in the cockpit area and blocks all the return air. I removed the red light indicator of the pitifully useless solar panel because it got in the way of the pleated filter. The 10x16 filter (amazon) comes out the front.
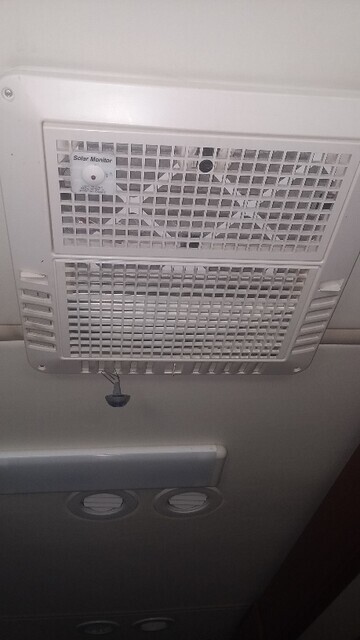
This photo is with the removal grid removed but showing the built in vents that we wanted to keep. This allow us to put air where we want it.
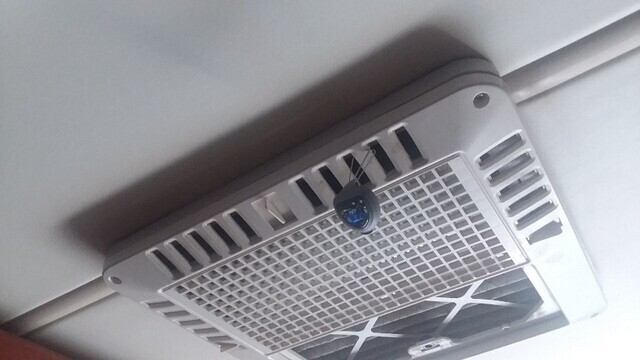
Here I have removed the 4 screws that hold the original plastic grill in place. You can see I bent up some thin gauge aluminum to hold the pleated filter.
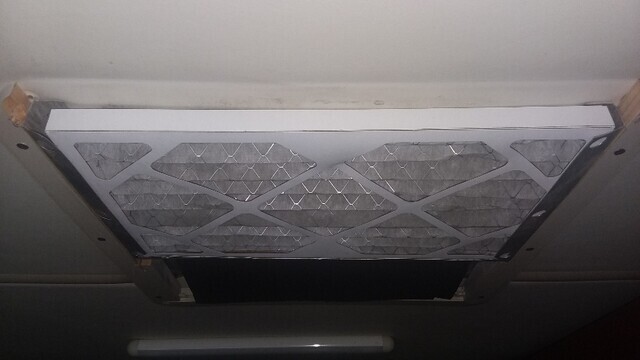
This is where it gets more complicated. I removed the feeder tube to the two front vents and blocked it like I did on the rear. We have not missed them.
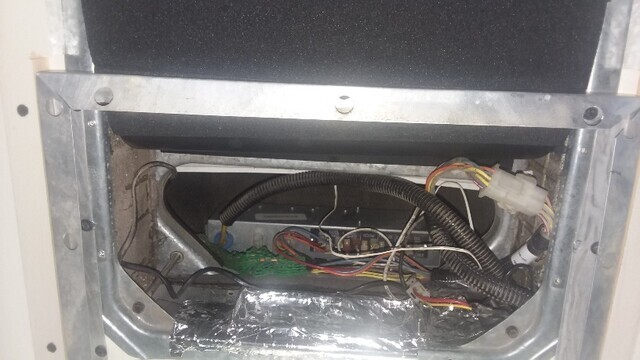
In order for the grill vents to work I had to change up the way the curved air deflector was done. I left a 1/2" gap on both sides and the back. This gives plenty of air to the adjustable vents and when we don't want them, we close the vents and all the air goes through the duct work. Notice the vertical back of the filter frame on the right? The black thing is the same curved metal plate from the original bottom of the unit under the fan. The black stuff is some type of insulation which keeps the metal from dripping condensation on the floor.
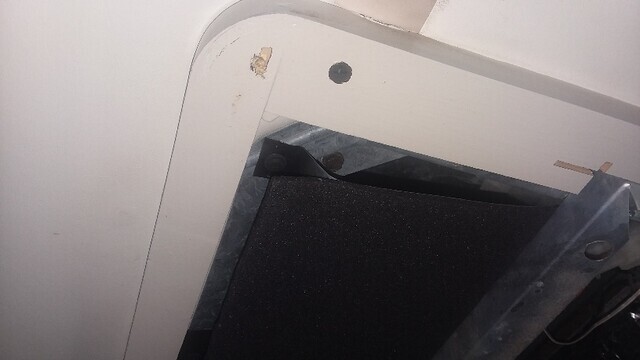
Below is the top side of the grill. That piece of aluminum has a vertical edge on it that seals against the back of the filter metal frame and separates the return and supply air. It is glued in place.
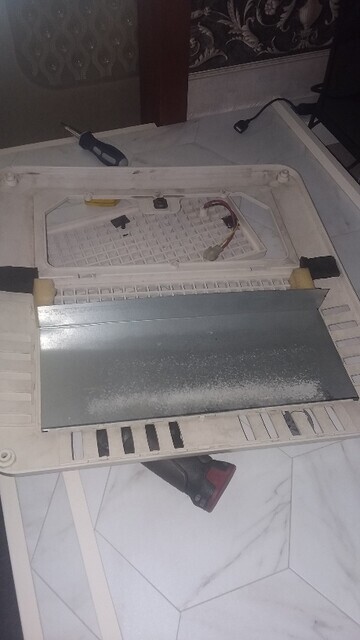
That's pretty well it. Works good. If you have questions ask away.
Submitted by: Kerry Pinkerton
The DISCOVERY OWNERS ASSOCIATION, INC, was formed to promote the sharing of information and the camaraderie of fellow Discovery motorhome owners. Membership in the club is limited to owners of Fleetwood Discovery motorhomes.