

We've had this on our list for some time but the old Norcold 1200 was really working pretty well. However, while on our recent 6 week trip which included some 8 hour driving days we decided that performance on propane just wasn't what we wanted. Time for a change.
While at the Pueblo Rally I paid a lot of attention to Bruce Plumb's seminar on going residential. I can do this, I thought. And I did but there was a bit more to it than I anticipated...much of it caused my me and my 'ideas'.
At first I purchased the same 20.5 cubic foot fridge that others have used, brought it home and upwrapped it. The next day I turned off the propane at the tank and ran the furnaces until the lines were empty. I then began the removal of the Norcold by removing the doors and all the wiring on the back.
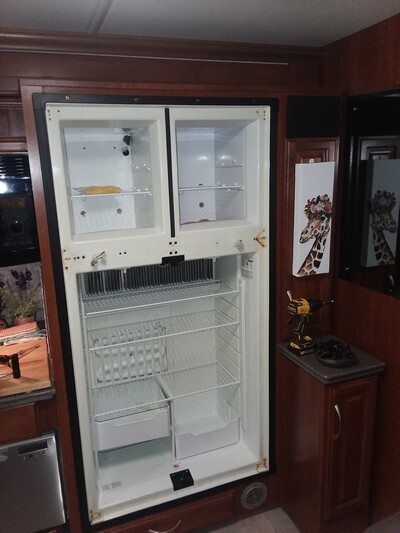
There are three screws across the top and bottom covered by a piece of trim. Once those are out the Norcold can be wiggled out with some difficulty....it's tight. I put it on a movers dolly and rolled it out of the way.
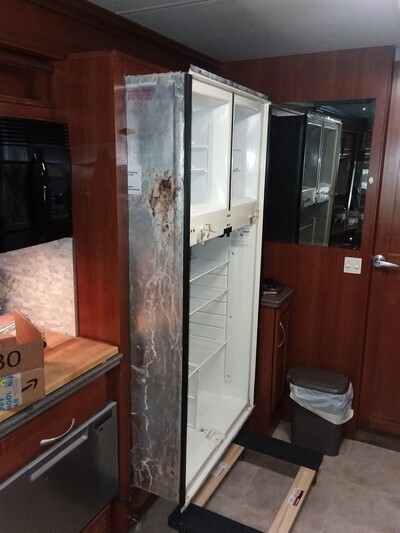
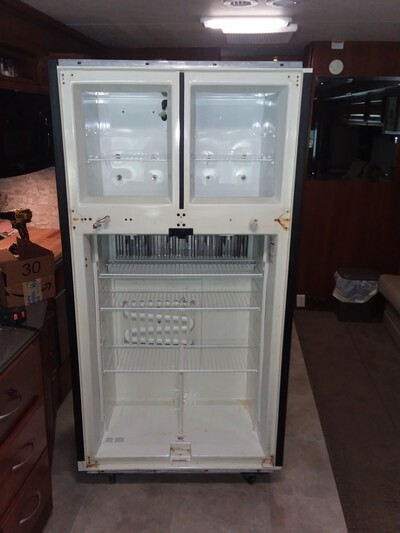
Once it was out I could see what I had to work with. The wooden base was only 1/4 Luan over 1x2 framing. There is a drawer below that I had been instructed to save.
The old supports were removed and a new cut down 2x6 structure was installed to get the new floor as low as possible without messing up the drawer. A 3/4 plywood floor was installed over the supports. It was at this point that I realized that the fridge I had purchased was too tall. My fridge is in a slide. Bruce's and some others are not and have more vertical room. Lowes was very good about taking it back even though I had removed the wrapping. I came back home with a Whirlpool 18.2 cubic foot WRT318FZDM. It was $650 on sale.
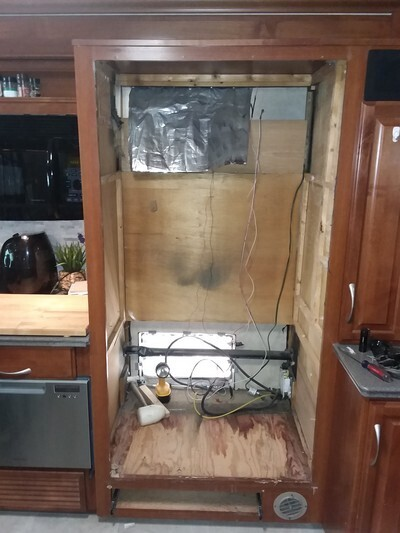
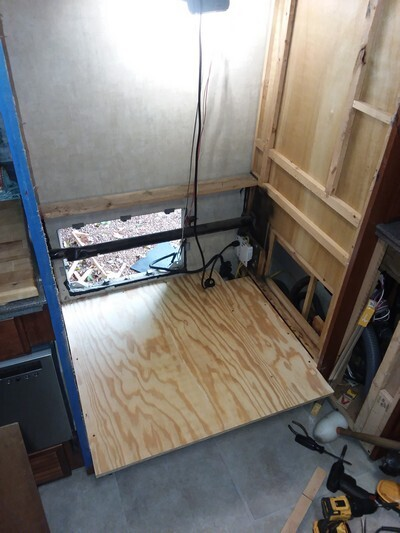
I removed the propane line, plugged the end and leak tested it.
The nice thing was that there was space at the side for....something. After some measurement and thinking, I decided I could build a series of drawers with 3" inside width. This would allow for storage of beer, water, canned goods etc. Every time I buy a case of beer or water, we end up with half a case sitting on the couch. I also thought a tall drawer for cookie sheets, etc would be appreciated by my bride. I wanted soft close slides because they hold the drawers shut during travel but I mounted them flat on the bottom. This is not as strong but is plenty strong for the load.
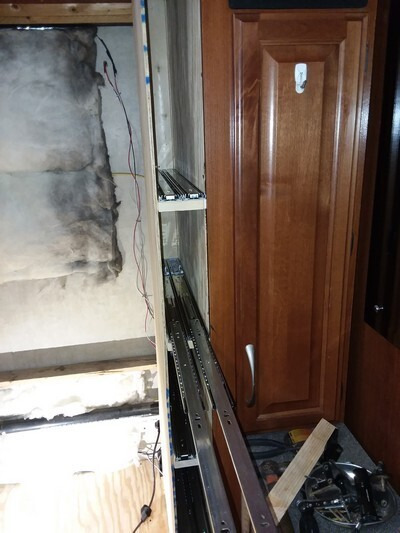
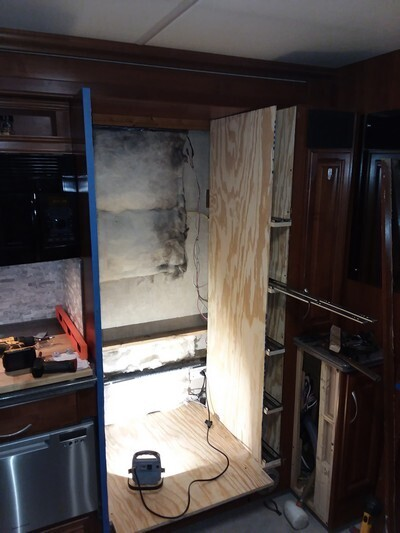
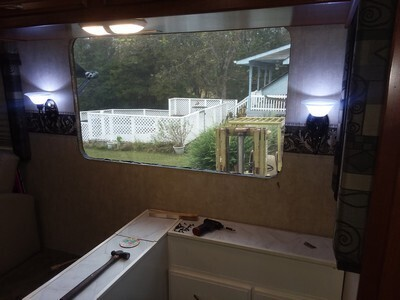
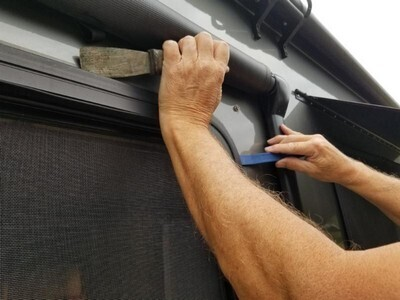
I had decided to remove the window behind the drivers seat. In my 39L floorplan, this is in a slide but once the window as out, I had 30" vertical clearance. The fridge with the doors off was about 27". Removing the window was not hard. The valance comes off with one screw at the bottom of each leg and three above up by the blind.
Once all 99 of the screws were removed from the interior window trim, I cut the silicone bead around the top of the window and gently but firmly pushed it out. Rick Blaher was there to help. It wasn't heavy but since I was on a ladder, two people was required.

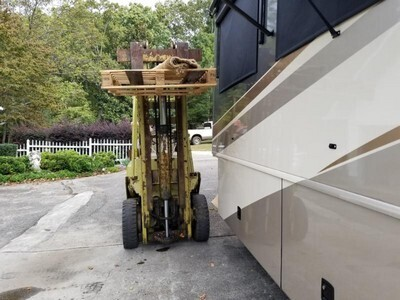
Later the same day, two more friends and the neighbor kid came to help with the heavy lifting. I have an old worn out forklift and we positioned it beside the window with a pallet about an inch higher than the bottom of the window. We draped an old carpet over the opening and the pallet and 4 guys picked up the Norcold and handed it out the window onto the pallet and just slide it out. Once it was out, I lowered the forklift and we moved it out of the way. Without a forklift a few more guys in the back of a pickup would have no problem doing it with brute force...even a bunch of old farts. The Norcold weighs about 225 lbs with the doors off. Easy with 4 guys inside and 4 guys outside...or a forklift.
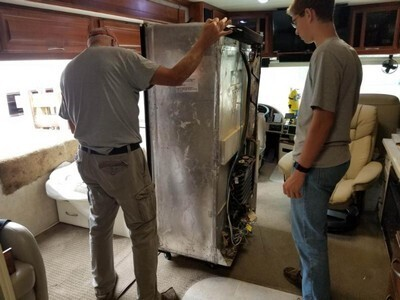
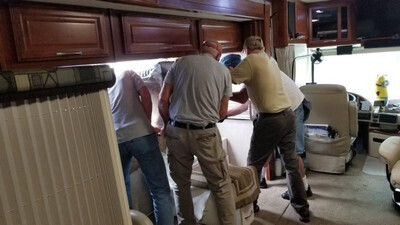
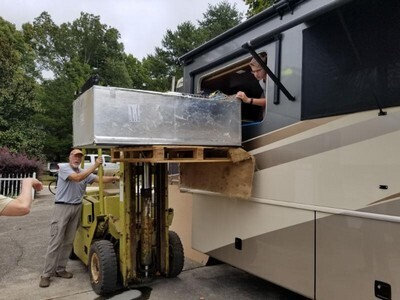
Putting the new fridge in was even easier. And once it was through the window, we just eased it into the opening and plugged it into the inverter powered outlet.
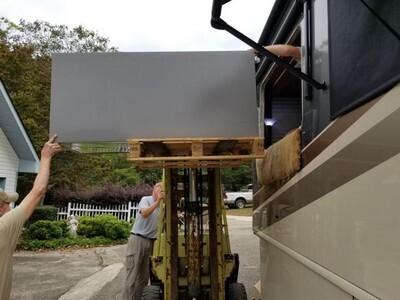
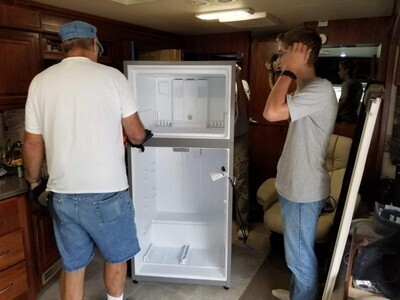
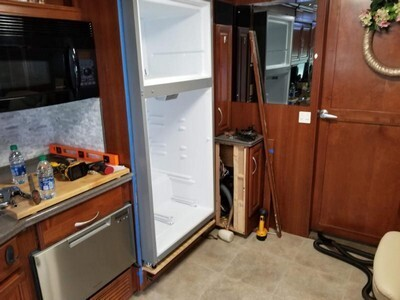
At this point I had about three 8 hour days in the project. Almost done....right?
Three more days and I was done. I had to make restraining mounts for the bottom and top. Then I had to make trim and doors for the new cabinet. I had previously had some custom stain mixed that matched the original cabinets. Doing all that is time intensive. The photos don't look like the stain is a match but it looks pretty good. I had some extra drawer pulls I had found at Visone Salvage but this project cleaned me out. These photos show the new drawers open and closed. The drawer below the fridge came with the coach and is where Carolyn keeps cooking 'stuff'.
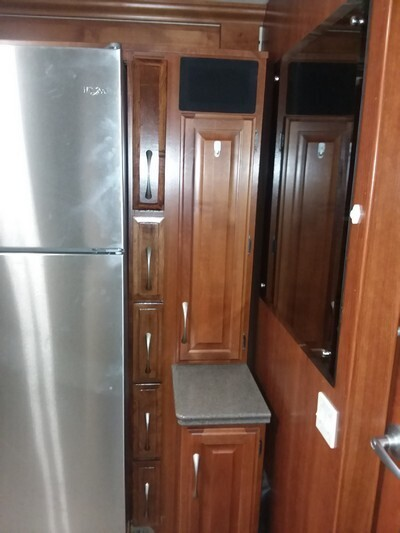
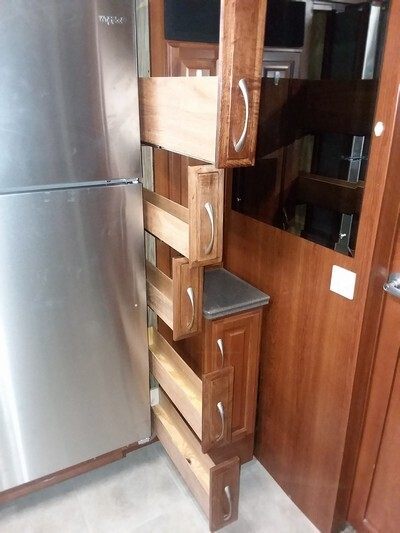
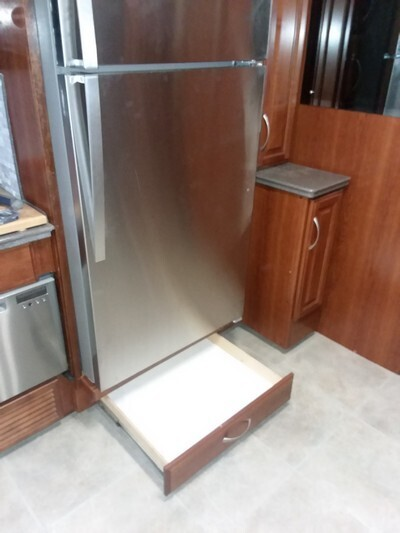
Even though it is not as big as we originally planned it's a lot bigger than the Norcold and I'm confident it will keep things nice and cold. Most of all, I won't worry about it killing us. We did not want an ice maker because we don't drink coach water. Yeah, yeah, I know...and I know how to sanitize and do before every trip. We've just got used to drinking Desanti and using ice trays. One less thing to winterize anyway.
A couple more photos.
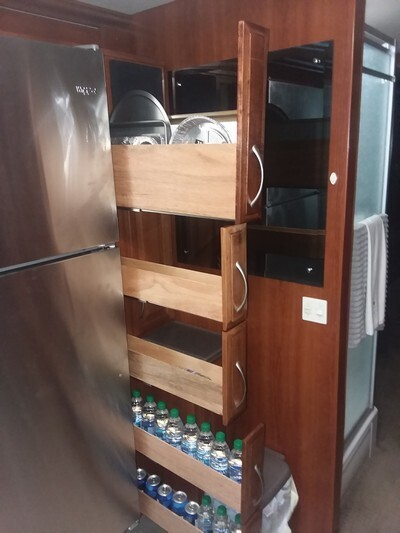
First is a photo with some of the drawers loaded with the partial cases of stuff I had laying on the couch and also some of the cookie sheets and pans that need a home.
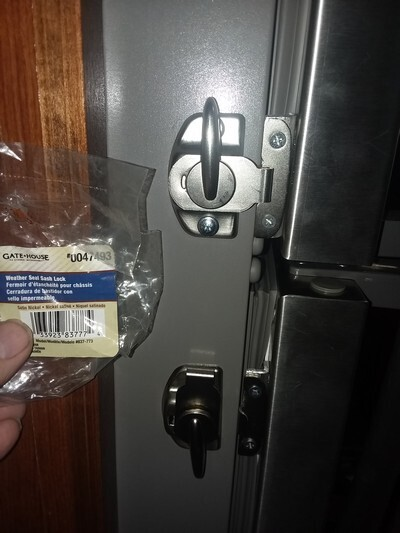
The next photo is a different way I found to lock the doors closed. Folks use child proof locks, bungee cords, and even the lock like FW installs on newer coaches. I wanted something that would not rattle, break, or be anything we'd bump into when we opened the door. These spring loaded window locks at Lowes (Gate-House 0047493) for less than 4 bucks each appear to be perfect. They have a brushed nickle finish that matches the stainless door. In the photo below the top door is latched and the bottom is open. There is a spring behind the lever that keeps things tight and exerts a gentle pull on the latch. I did have to make a small angle to mount the back part on because it needs to be on the same plane as the side of the fridge and the door sticks out a bit. Plus, this is completely tucked into the door beside the gasket and won't drag on our skin or clothes should we get up against it. Everything is screwed together with self tapping 1/2" screws.
I'll have to add making sure the fridge doors are locked to our departure checklist.
The DISCOVERY OWNERS ASSOCIATION, INC, was formed to promote the sharing of information and the camaraderie of fellow Discovery motorhome owners. Membership in the club is limited to owners of Fleetwood Discovery motorhomes.