New Simulated Wood Floor
We decided to replace the old carpeting in our coach with a simulated wood floor. After checking on several different options, we chose to re cover the floor with a vinyl simulated wood floor covering we purchased from Stines Lumber. The following are the steps we followed to install our new floor. NOTE: we decided not to remove the carpeting under the driver's because of concerns about the slide catching on the new flooring as it comes in.
- Open the front slides all the way so you can get a better idea of where to cut and remove the old carpeting.
- Remove the Carpet threshold. I used a narrow pry bar to lift the threshold lip that holds the carpet, then unscrewed the screws that held the threshold.
- Mark a straight line on the carpet that follows the edge of the carpet all the way to the front dash panel on the drivers side. Then cut the carpeting along that line. In our case we had to make a jog at the accelerator pedal. Remove the carpet.
- Now cut the carpeting along the front of the curb side slide, then cut the carpet at the bathroom entrance. Remove the carpet.
- Now mark the carpet to remove at the entrance and back to the area behind the front seats. Cut the carpet and remove it.
- Remove the carpet hold down strips and any staples in the floor area, then sweep the area clean.
- In our case we had peal and stick tile in front of the kitchen area. We decided to leave this alone rather than take a chance of messing up the sub floor.
- To eliminate the "hump" caused by the edge of the tile, we purchased some "cheap" tile from Dollar General and laid it going forward about 24 inches. This eliminated the "hump".
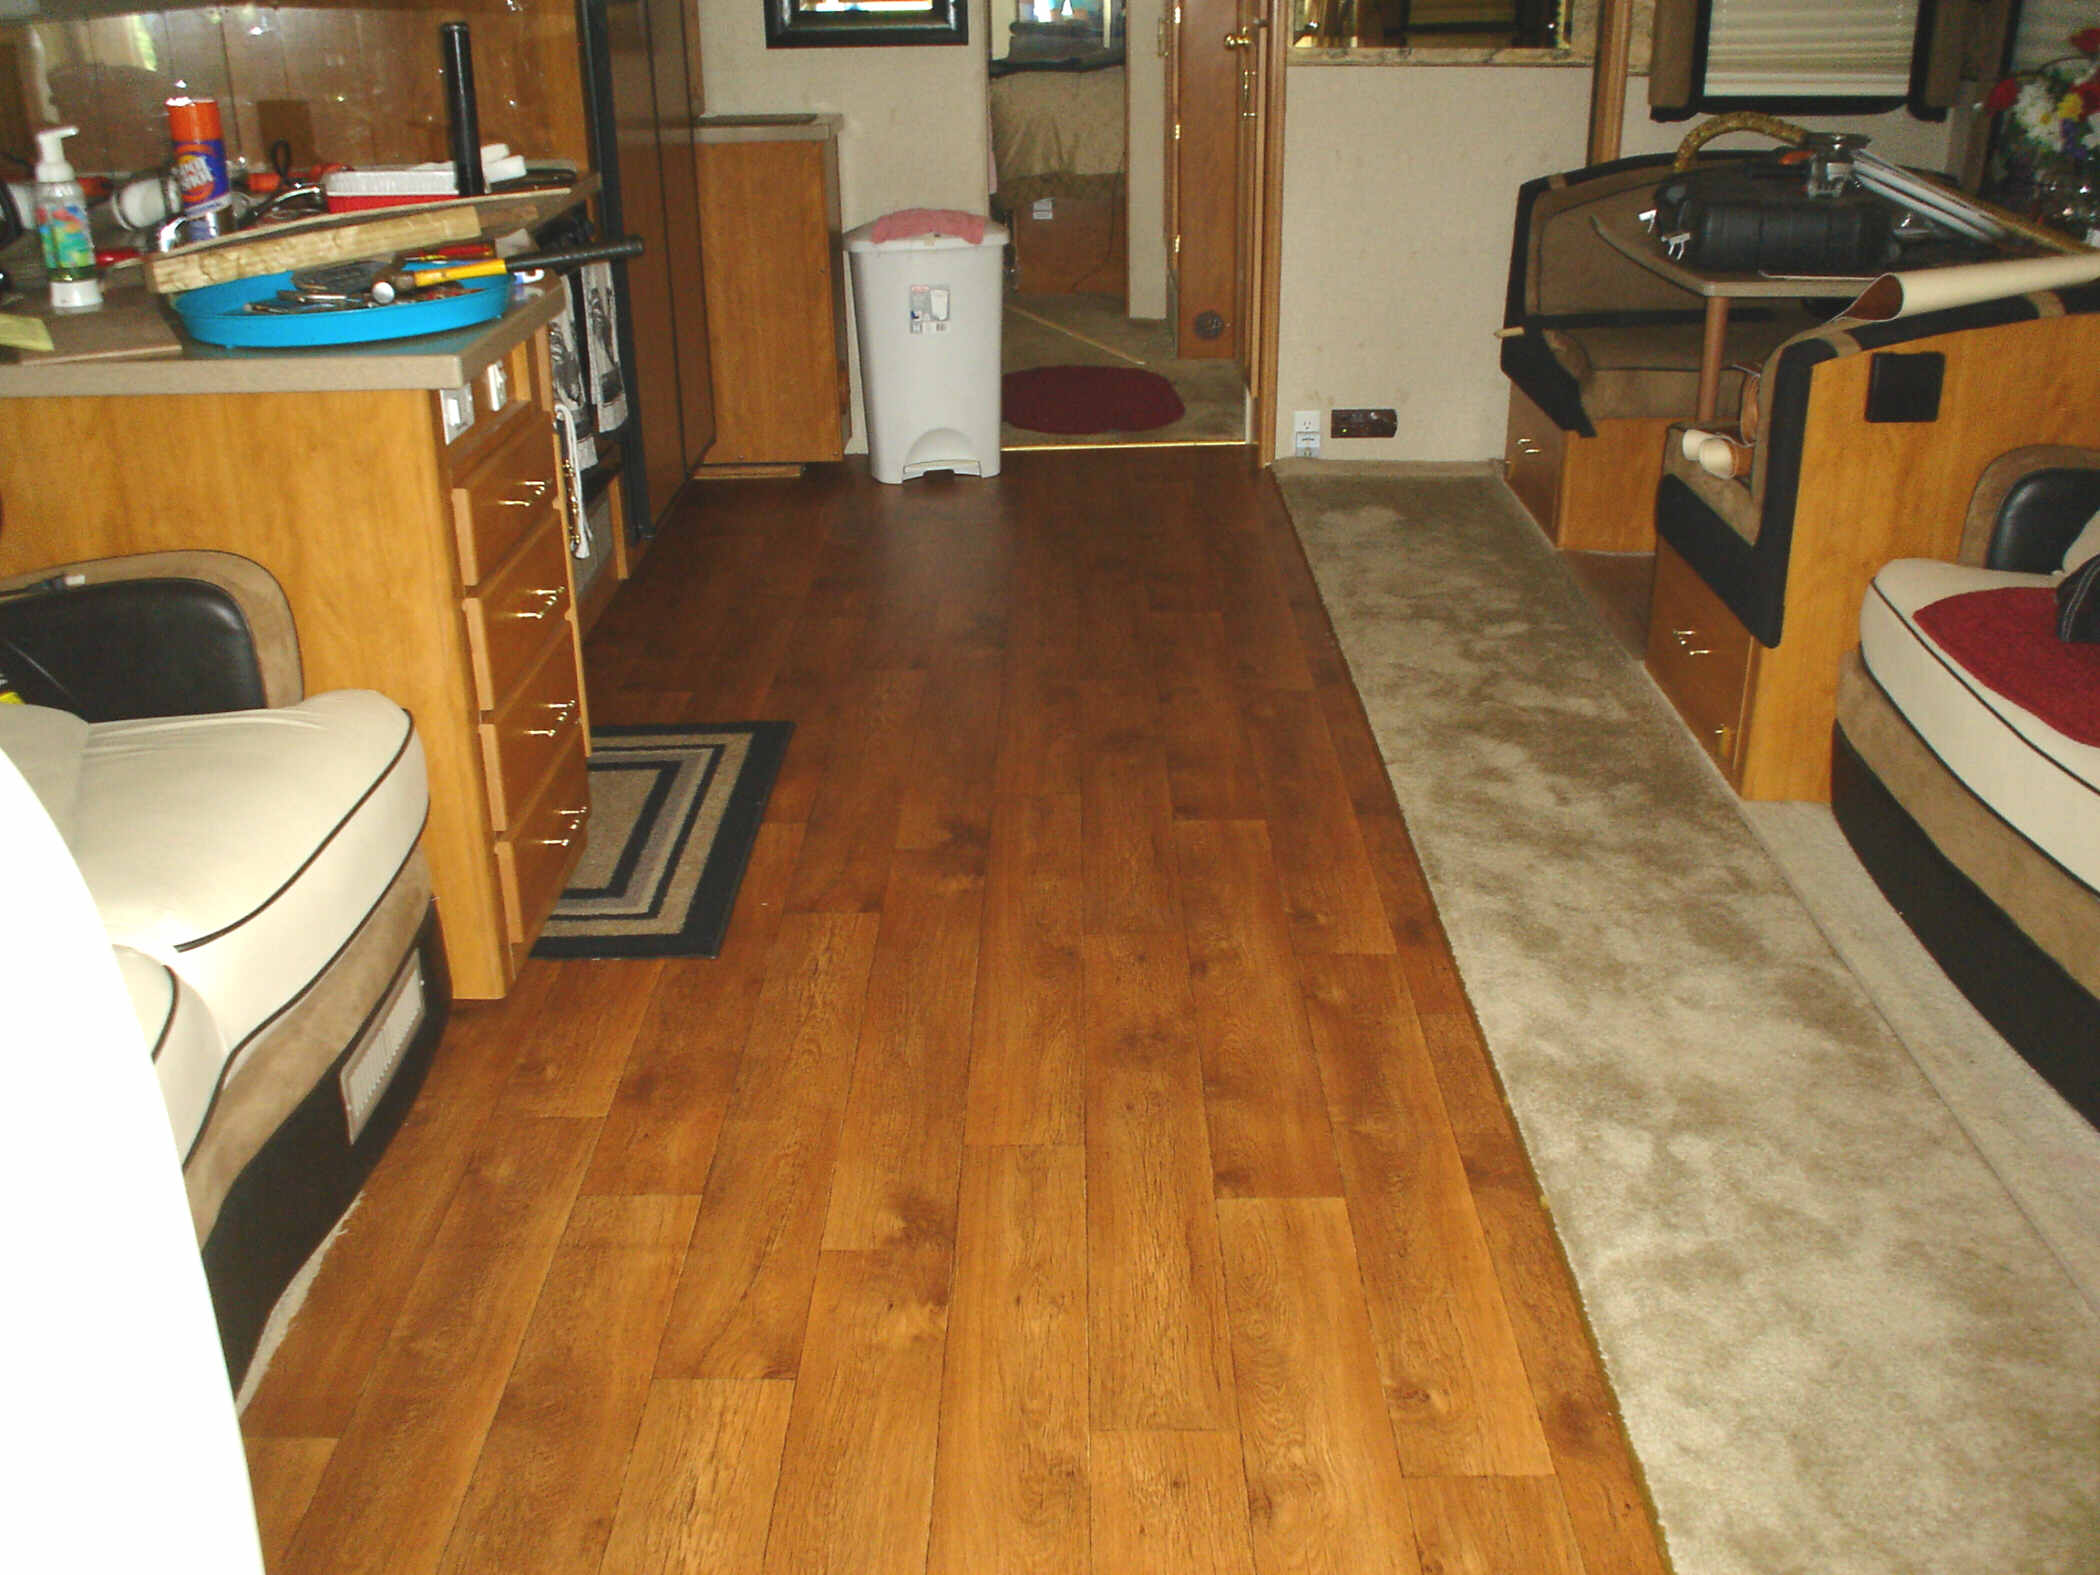
- Since we purchased 12 feet of 12feet wide vinyl (cost $3.98 a linear foot), we cut the piece in half. Lay the piece onto the floor and align it to the carpet on the drivers side (push under the carpet about 1-2 inches and the bathroom entry. Be sure to align the wood slats are parallel to the side walls of the coach.
- Using a razor blade knife or scissors, start to cut the along the kitchen side of the vinyl. NOTE: Since the vinyl does not have to be glued down, you can lift it, cut the edge, then put it back down to get the cuts correct. Continue to cut the vinyl all the way up to the end of the curb slide.
- At this point you will need to add the second piece of vinyl to the piece you have laid down. NOTE: We found that by aligning the wood slats and cutting a staggered line around the slats, the seams will not be noticeable. After the cuts are made and aligned, you can use a very thin coat of vinyl glue to cement the seams to the floor and each other.
- Continue to cut the vinyl until you have completed the entire floor.
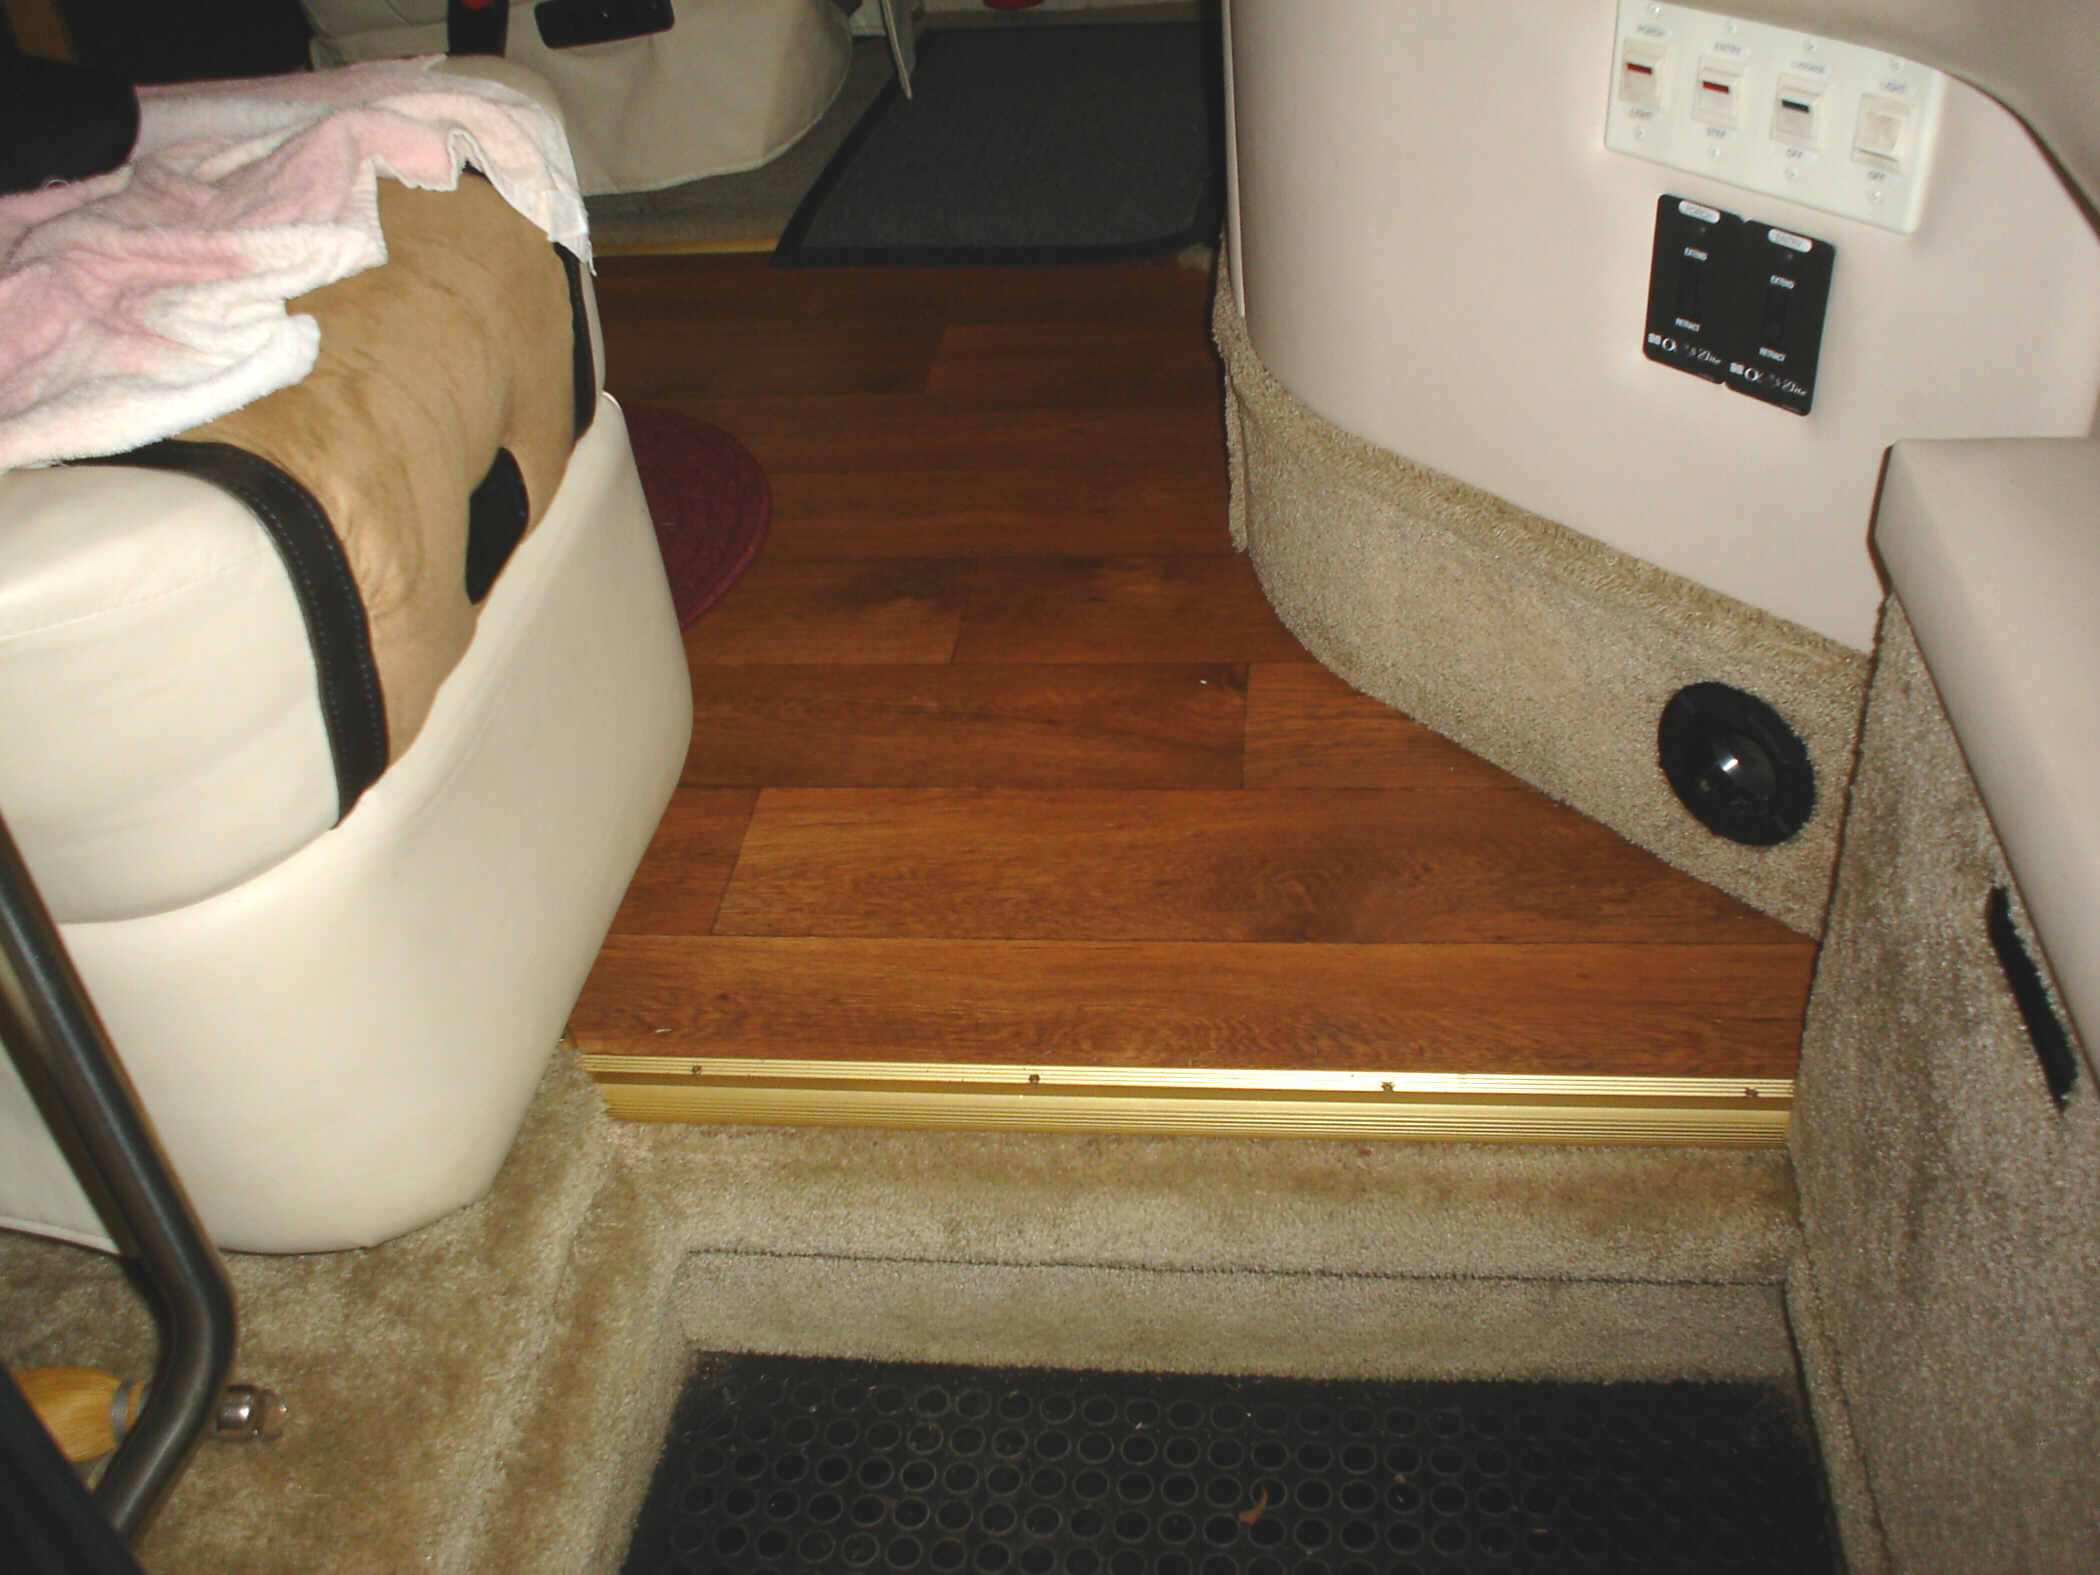
- Now install the thresholds where they are needed to the floor and bend it over the carpet by tapping with a mallet.
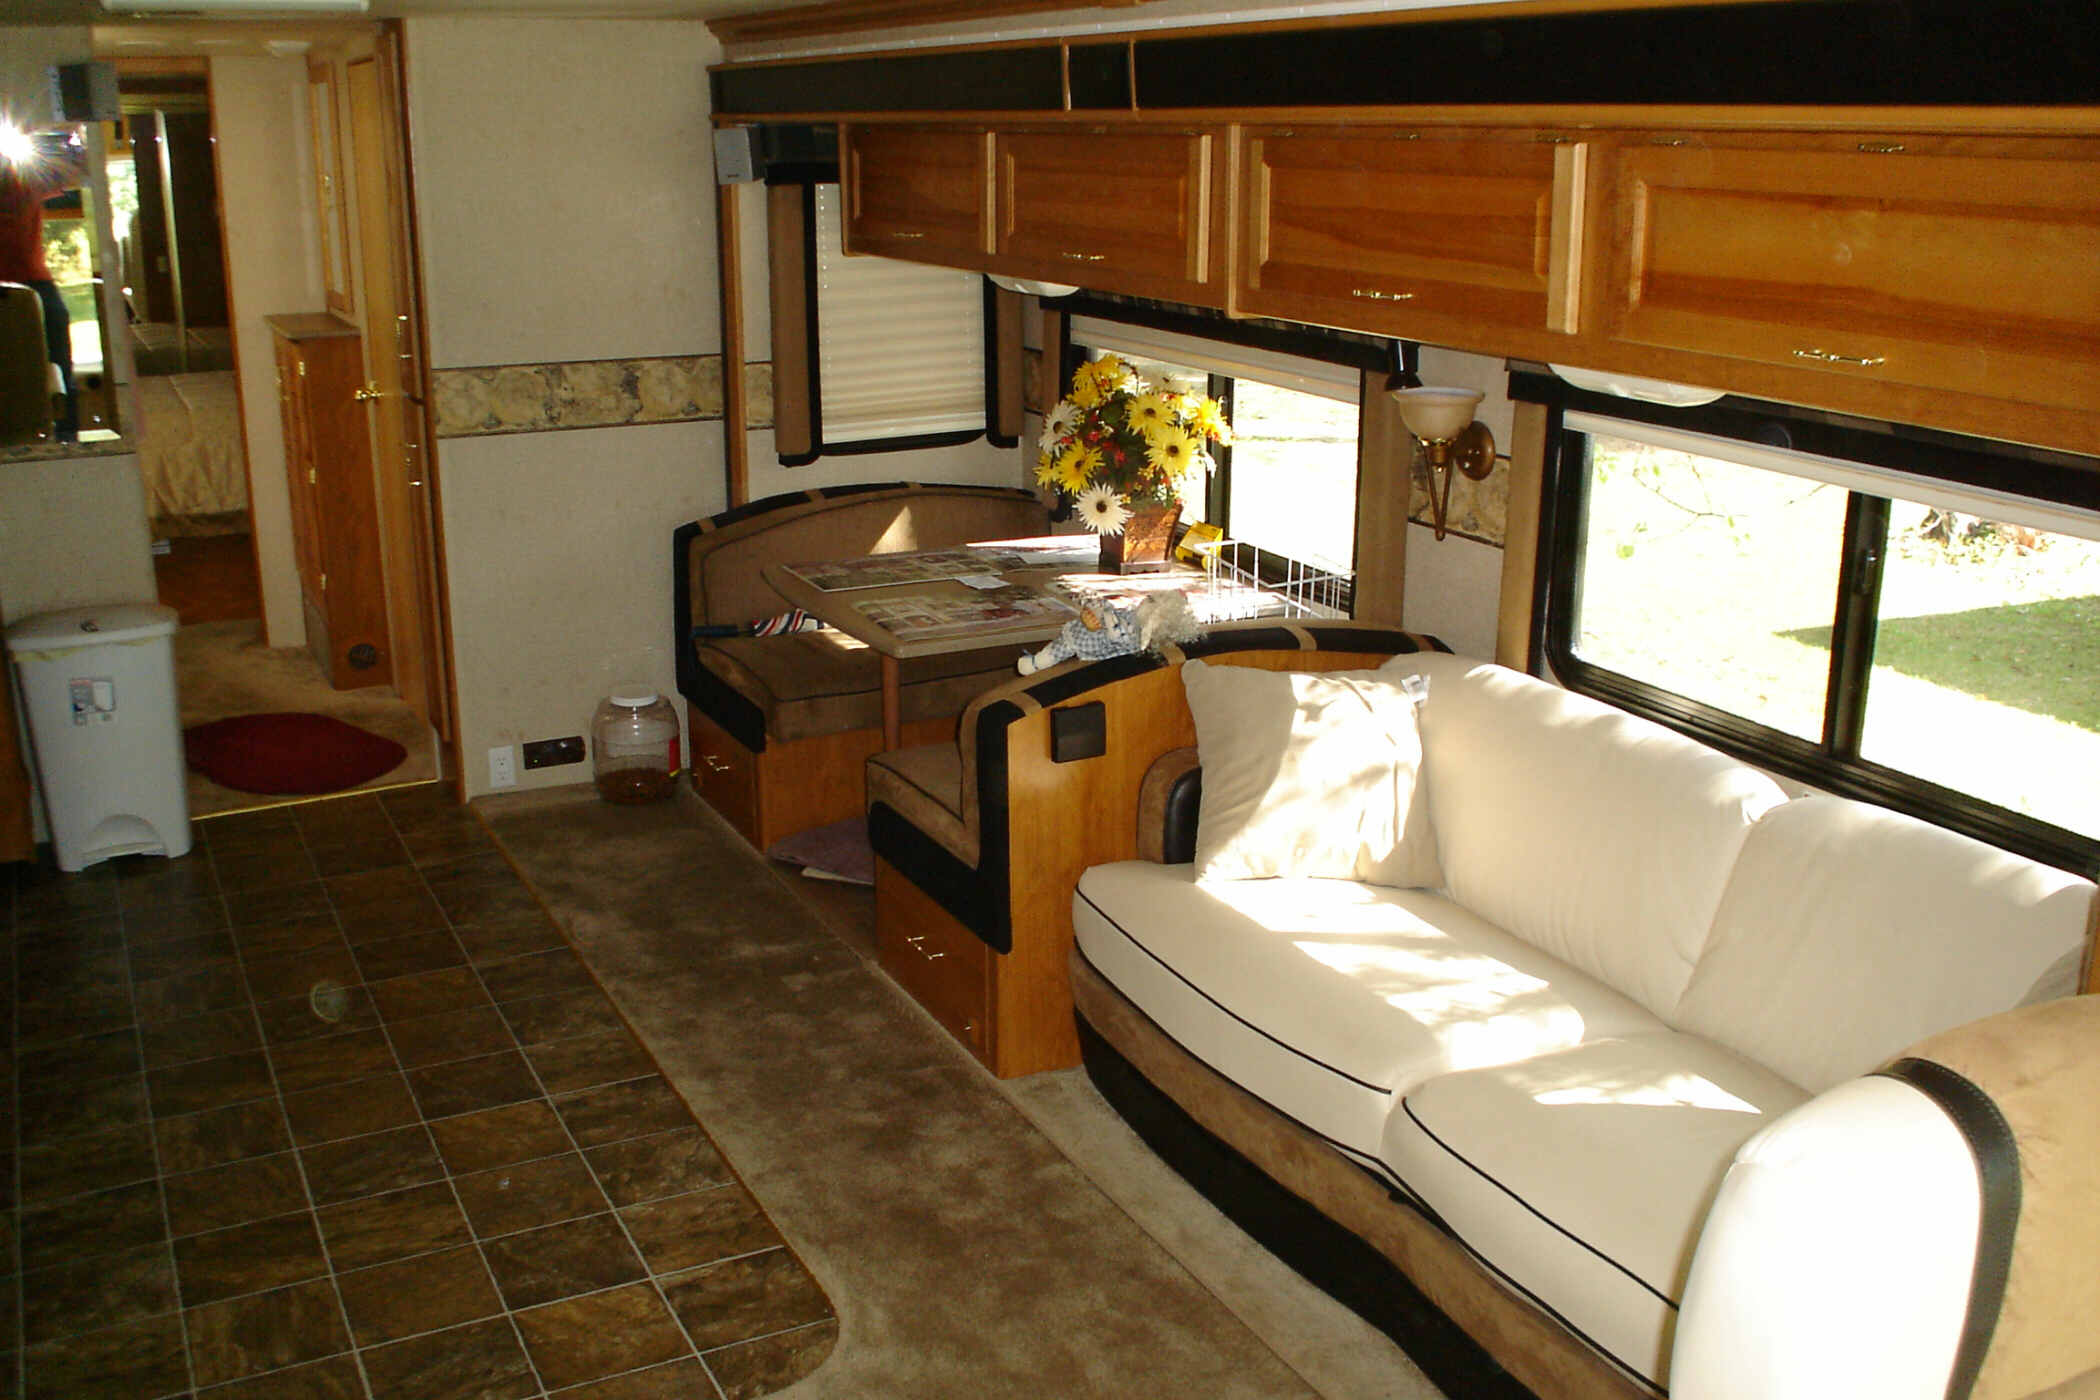
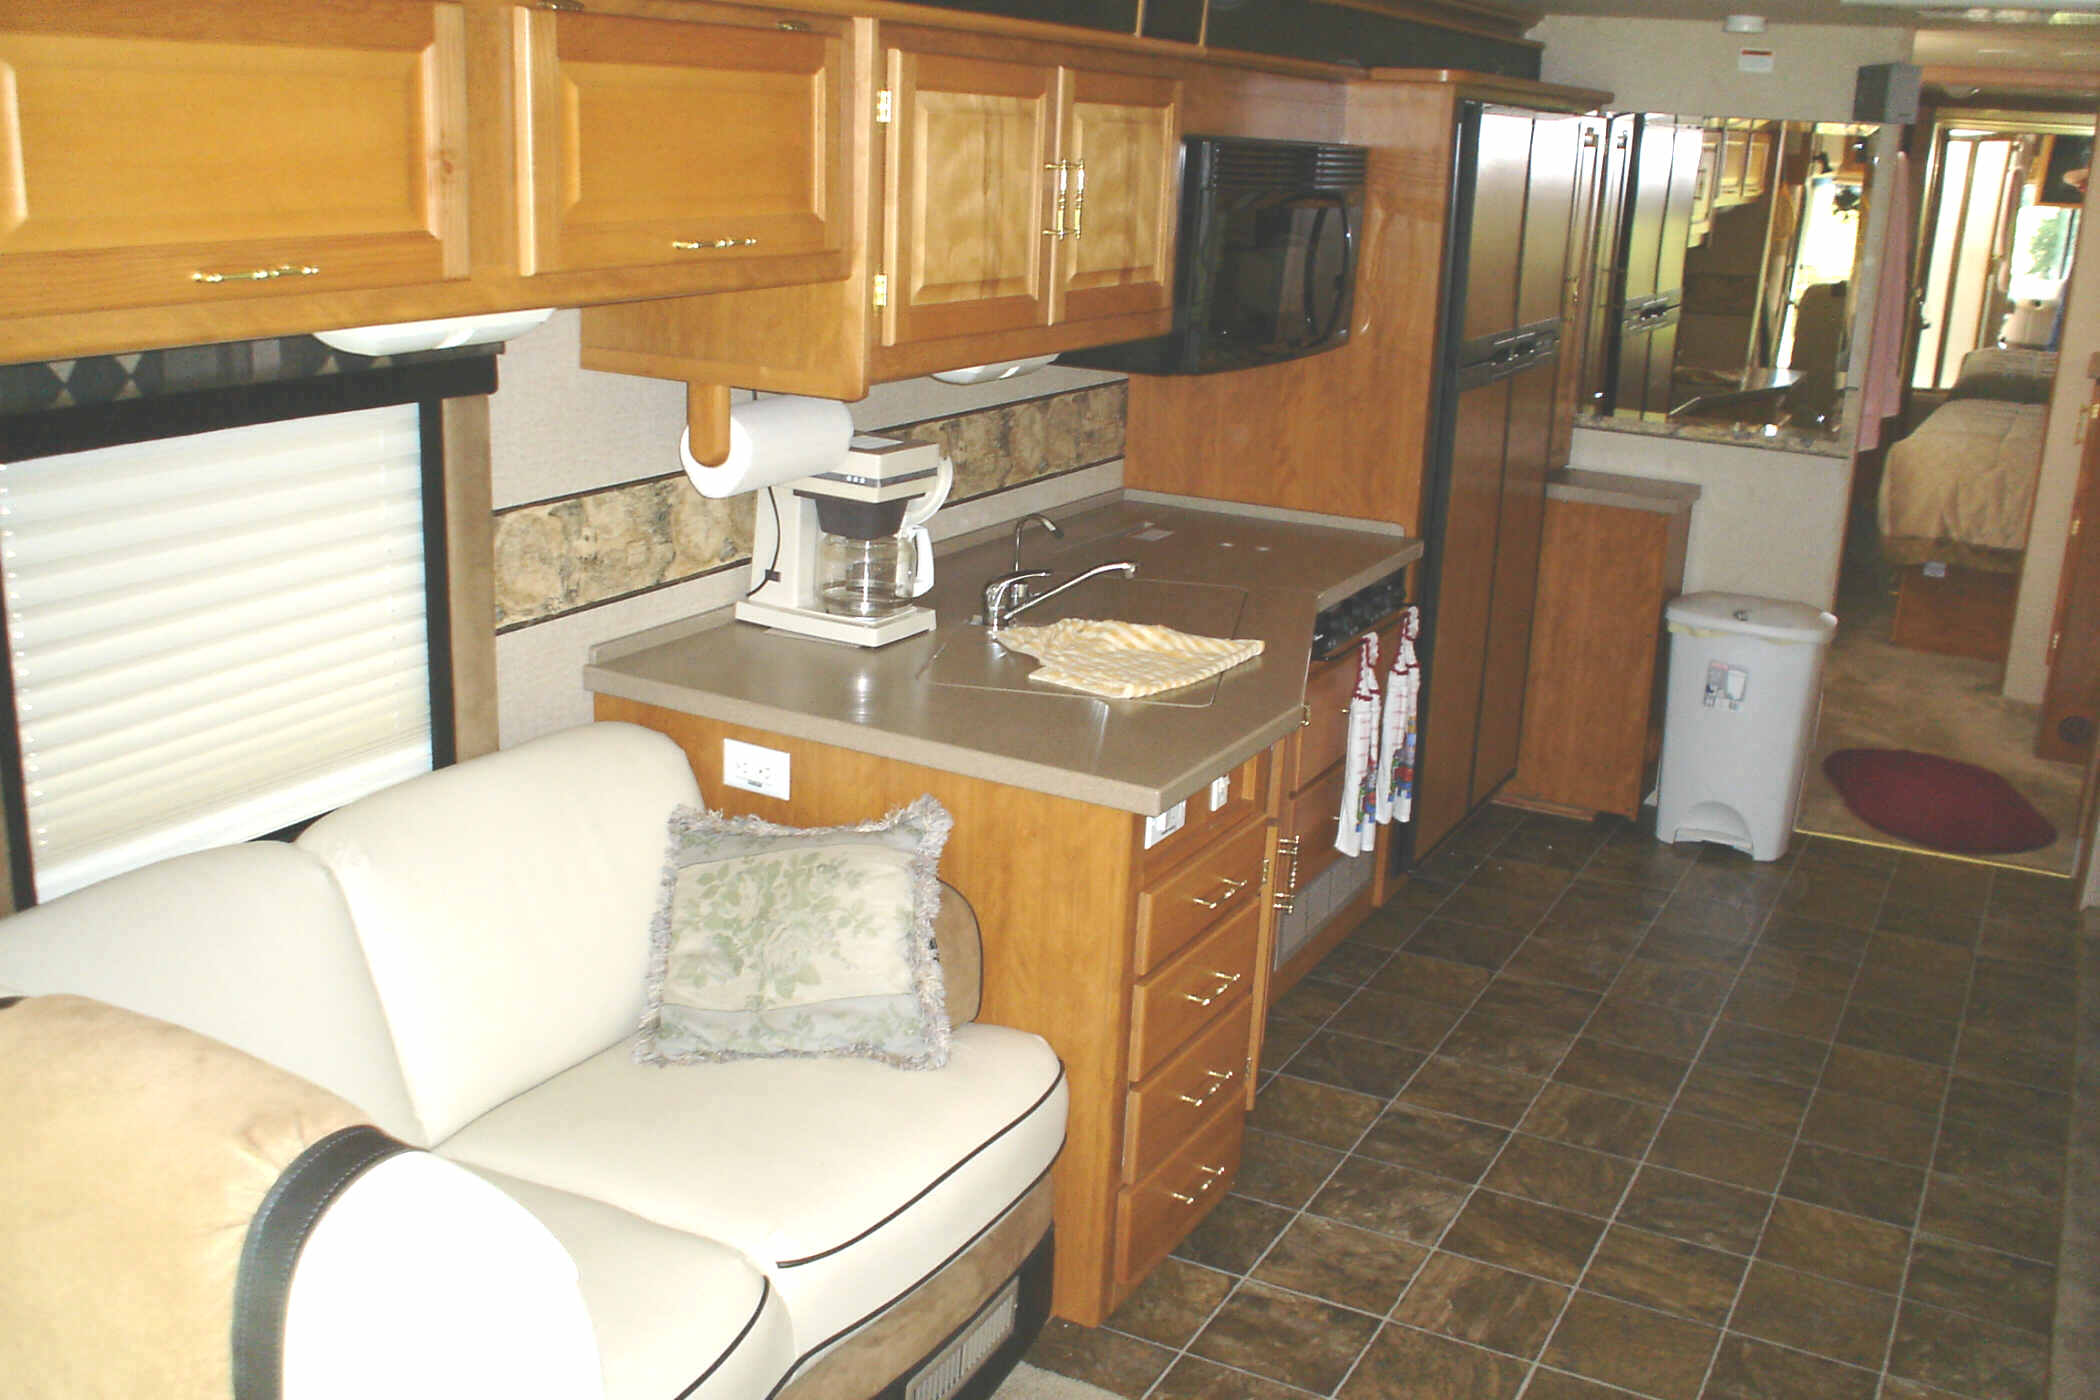
The following PICs illustrate the before an after floor.
Submitted by Jim Fox


